NX Tips and Tricks | Moldability Validation

Introduction
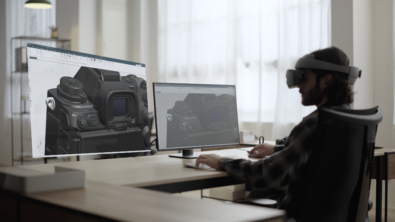
Welcome! If you’re new to our Tips and Tricks series, we’re focusing on new capabilities added to the June 2023 release of NX™ software, and how you can implement them into your workflow. Today, we’re taking a look at tooling, specifically, how to use moldability validation to confirm our mold designs fit production standards. Take a look below to watch the video.
Validating your molded part
NX offers two primary types of validation checks for molded parts. These two methods are Moldability Validation and Feature Validation, each with their own benefits. In this blog we are going to go over what Moldability Validation is, and how it can enhance your design process.
Validating your part ensures that mold parameters adhere to previously established standards. These standards are set to encourage production uniformity, and overall quality of the final result. A few potential errors that can occur in mold design products are sink marks, voids, and warping. To avoid this, Moldability Validation can help assess your design to identify possible causes of these failure points.
Setting up parameters and preferences
Before running our Moldability Validation checks, the first thing to explore is the Molded Part Design Preferences. This tool allows for parameters and values to be selected, to best fit our design needs. For moldability, there are seven parameters which can be toggled on and off. These parameters help account for some of the primary causes of faulty mold designs and come ready with preset values to help expedite the validation process.
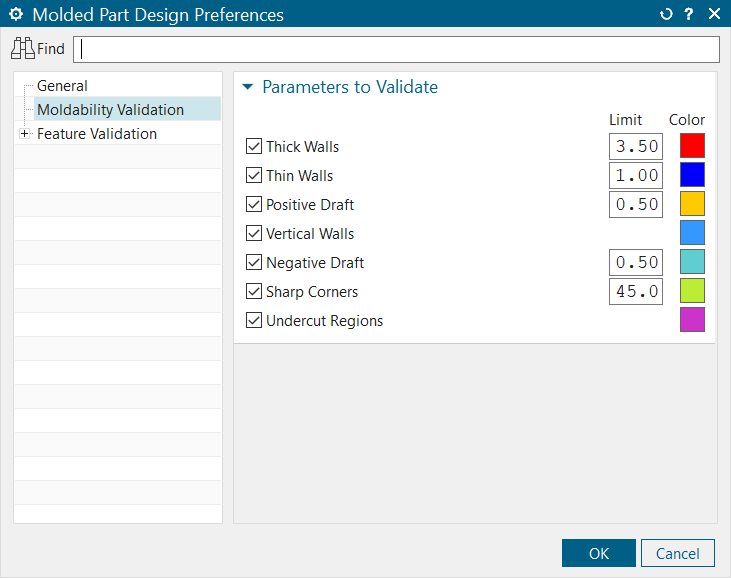
Moldability Validation offers seven key parameters which can be easily tested. Organizable by color, these parameters offer the highest level of customization to fit testing needs.
The other key tool inside of Molded Part Design Preferences is the option to personalize the color associated with each parameter. When the validation tests are run, errors will highlight in a color-coded manner, allowing for easy assessment of results. To help organize this, parameters can be set to specific color schemes that match design goals.
Analyzing moldability validation results
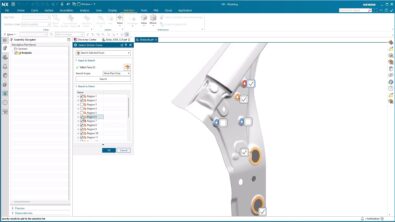
Once our parameters and values have been set, we are ready to begin our Moldability Validation. To do this, we select the Moldability Validation button found under the Molded Part Design tab, and the rest of the work will be completed automatically. When this is done, the Molded Part Design Navigator will open.
Inside of this navigator, all the checker results are organized by parameter type . Each check will have an associated result, and a more complete explanation can be found further to the right. Along with the navigator, the display window also updates to reflect the test results. Any failures or errors will be marked and highlighted with the associated colors.
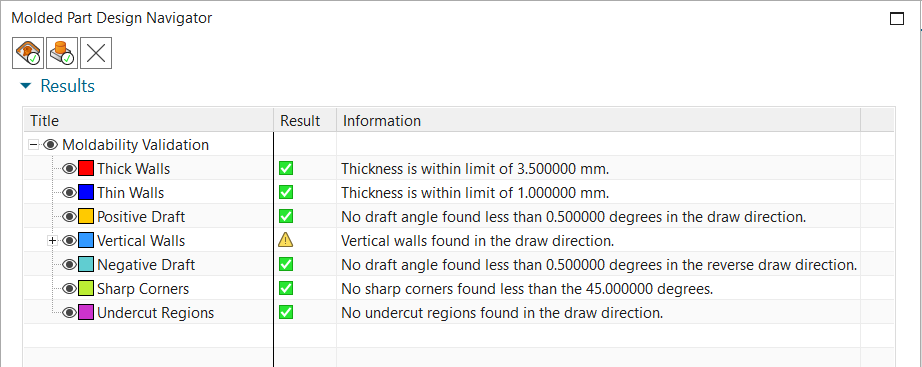
To investigate an individual test’s result, we can either double click on one of the messages in the display window, or select the plus next to the parameter type we are interested in. This will allow us to view our results at a higher level and can be very beneficial to understanding the next steps we can take to elevate our product’s design.
What’s next after results
With our results ready, we can now decide what our next steps will be in the design process. There are three main routes we can follow. If all the parameters successfully pass their checks, we know we have a sound and complete design that should be fit for molded design production. However, if errors arise during testing, changes to our original strategy must be made. The initial design can be altered to adapt to fit mold standards, or we can explore manufacturing options that do not require molds. Both are viable options but should be individually assessed from case to case.
Continue your journey with NX
Watch the Molded Part Designer Feature Validation tips and tricks video here ▶️
Watch the Cooling Channel Design tips and tricks video here ▶️
Take me to the NX design blog 📚