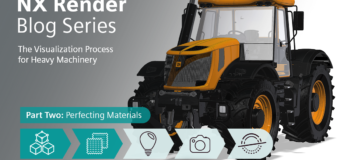
NX Render Blog Series: The Visualization Process for Heavy Equipment – part two
Introduction
As you may know already from Part One of the NX Render blog series, we are going to be taking you on a deep dive into the visualization process across a variety of sectors. Within this series we will be looking at heavy equipment, with particular reference to the JCB Fastrac model. In blog one we discussed how to best set up your model, and in this follow on, we will be taking a look into all things materials. This blog series will be again be accompanied with top tips from in-house visualization expert, Gavin McCambridge, to help guide you with his 19 years of industry knowledge.
Research is Key
Let’s jump into the first step – dealing with materials in such a large model, like the JCB. It is key when preparing to visualize a complex model such as the JCB to familiarize yourself with the product through reference imagery. You need to take your time in researching the model and understanding the details that go into the design, and what makes such established brands, like JCB, stand out. Gavin has given us insight into the best way of beginning this perhaps daunting first move.
‘The best way to understand a model is to ask yourself questions. How is it constructed? What are the common features? You need it to look like the real thing, so these are things you really need to consider. If you work for that company, you’re familiar with the color palettes and the materials, but from my side it’s disconnected and needs to be right to look authentic.’
Awareness of the Models Materials
Understanding the materials on the model is imperative in creating the best possible render. One of the obvious ways to achieve this is best matching your materials to those on the actual model in your reference imagery.
‘To kick start the model off, I really look at how the materials work and look. The plastic on the wheels for example, really heavy, rubberized plastic, that’s where the real texture is; it’s those details you need to look closely at. One thing to bear in mind, is how your materials look in the viewport, may differ to the actual render, and so it’s important to go back and forward to check your materials are matching up.’
This stage may seem tedious as you’re flicking from looking at it one way, and then the next, but it’s a huge differentiator for the overall outcome. Think of the textures you see in real life, that’s what you need to try and capture on your model.
Creating Your Material Palettes
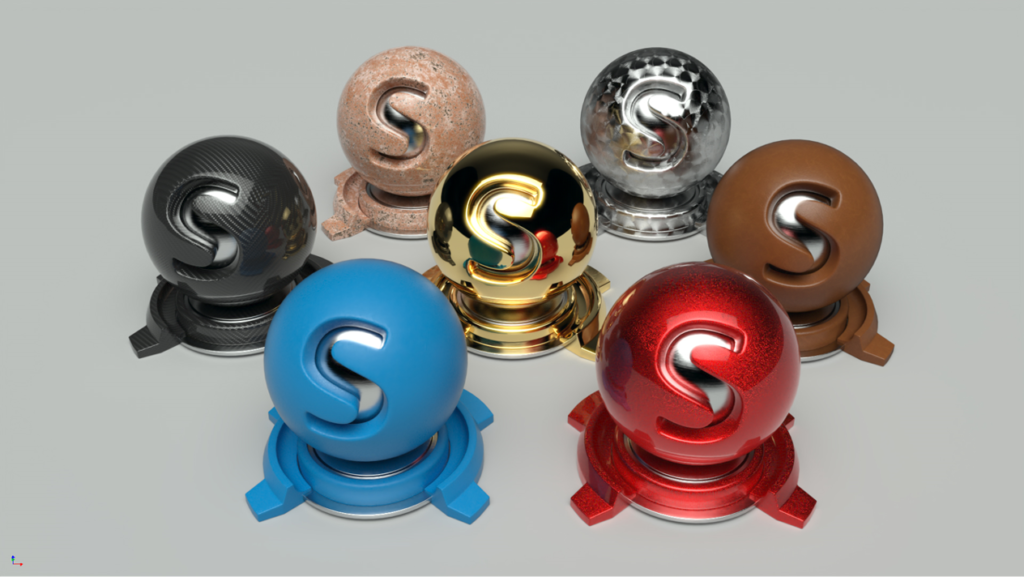
When working on such a large and complex model, like the JCB Fastrac; having your material palettes set up is helpful for you in terms of time and effectiveness. With this model specifically, Gavin used out-of-the-box NX Render materials. Alongside tweaking a few of these NX materials along the way, Gavin was able to achieve that sense of realism. However, if you are wanting to create your materials from scratch, Gavin stresses that for this model, you would only need twenty of these at the very maximum in your palette, in order to also create such a sense of depth – so no need to get carried away spending time on more!
‘You, could actually do all the materials and get the palette right in a couple of hours, because there are literally about 20 materials on this and that’s about maximum. So, you’ve got your metals, which we’ve already got in NX that we can just adjust and tweak.’ Varying the way different materials appear on the model can help create that depth and realism. ‘something that I considered when I was adding materials to the JCB, the yellow wheel hubs look slightly different in color to the yellow body work. This is because the underlying material beneath the yellow paint is different and therefore the finish appears differently.’

Varying Your Color Palette
Ensuring you vary your color palette, even within the same color is another essential for capturing that sense of authenticity. Look at an artist’s palette for example, you don’t just see the primary colors on there, you see multiple different shades of one color, that combine to create depth. Imagine you’re looking at your JCB model, and everything black is the same uniform black; would that look like a real-life model to you? Obviously, you will have different textures within colors that will naturally change the shade, but spending the time to vary your colors is a simple step in making a huge difference.
‘I used several different types of blacks. I’ve got a powder coat of black, I’ve got a glossy black, I’ve got, one that’s a little bit less glossy, a little bit more glossy and it’s just to break up it all looking exactly the same everywhere.’
Optimizing the Smaller Details
Once you have your model at a point where you’re happy with the materials, the next step in the workflow is to start optimizing smaller details on the body of the model. We’re going to take a deeper look into the specific model here, and how Gavin has achieved this. To start off, most people know what a JCB looks like, big, yellow and black, with the signature logo across it. At this stage we will investigate those details that make a well-established brand like JCB have its iconic look. But how do you go about ensuring the decals on a model look right?
‘We started actually looking at decals for it online, because if you just look at one, it might have a decal sat in a certain way, you know because it’s that specific model, but if you look at more you can get common themes that JCB do with their decals. As an example, the one on the engine bay, on both sides, the JCB badge on the front and then JCB always put the actual logo on the door as well. It’s just stuff like that and making sure they sit well.’
‘What you’ve got to remember is once you’ve made a decal on one side, if you’re putting one on the opposite side, you have to basically flip it, but make sure all the text is going the right way. You can’t just reuse the same decal. So you have to custom make them for either side of it.’
All Artists Go Back and Forth
In the same way any artist, of any kind, goes back and forth on their work, it’s important for you to do the same throughout your render process; adjusting colors where necessary, adjusting camera angles when needed and manipulating materials. A big part of the rendering process of a model is learning how is best to work with the model itself. Let’s look specifically at this instance of ‘back and forth’ with materials and see what Gavin suggests.
‘When you’re working on the materials, what you can do is you can drop the tessellation right down on everything. This speeds up your machine by reducing the smoothness of the lines and curves. It allows me to quickly get a rough idea of what a material is going to look like, and then towards the end, I turn all the settings back up to get those smooth curves and straighter lines back.’
This is something you can repeat and repeat until you feel satisfied you’ve achieved the perfect render.

An easy to miss step in perfecting a render is not adding materials to smaller parts within the model. Perhaps you’re rushed for time, or you have other projects due, however hurrying this step could jeopardize the quality of your render. For example, on this JCB model, if you didn’t add materials to a few nuts and bolts on the exhaust, these parts will stick out in your final image, likely with a bright CAD color.
‘Again, that’s another important thing about doing high res renders and testing is making sure that you capture all the little bits that may have been missed; going back to the detail inside the pieces is very important.’
Summary
Taken from the first blog in this series, optimizing your model’s performance is an important step to dramatically speed up your workflow. While the selecting and refining of the materials may feel long and time consuming, particularly with such large models, like the JCB Fastrac 8250, it is well worth the time and effort spent to achieve that final render.
In Part 3 of the NX Render series for heavy equipment, we’ll be discussing all aspects around lighting your model and scene. Stay tuned and look forward to having you back in the next instalment!


