NX Tips and Tricks | Applying surface treatments to your parts
Today, we’re diving into surface treatments, specifically, how to use NX Coatings to add coating layers to our parts. This will be the first in our series on NX Coatings where we’re focusing on how to produce layers, the benefits they have to offer, and how you can implement them into your workflow. Watch the video below for a step-by-step breakdown in NX™.
Why use coatings in NX?
NX Coatings is a great tool you can leverage to provide information about surface treatments for your product designs. You can assign surface coatings using the NX Materials Library which then can provide a number of downstream benefits. One of these benefits is the ability to determine the impact of coatings on mass roll-ups. This is an important step in confirming that products still fit design needs.
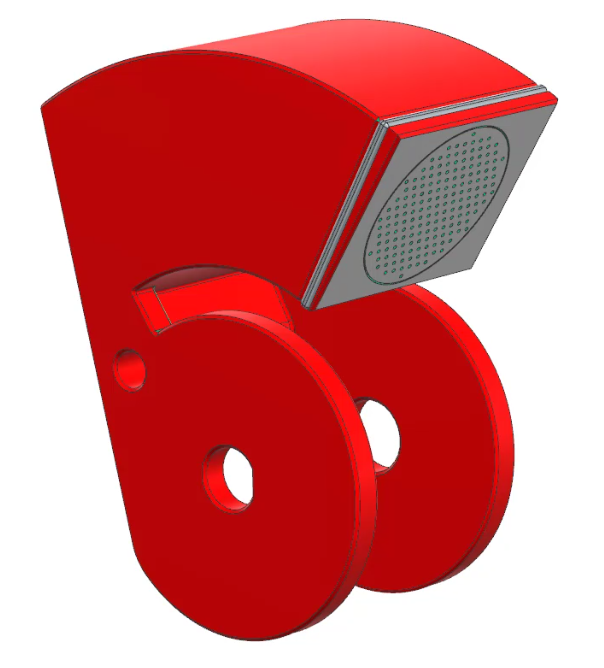
Surface coatings can also help you to visualize their results in high resolution rendering. Rather than imagining what paint or gloss finishes will do to a design, NX can quickly update parts to reflect post-production surface treatments. NX Advanced Studio is an excellent tool to see a high quality display of the coating layers that are applied to your parts.
Another key aspect of NX Coatings is simply the ability to annotate coating information. By including surface treatment data on product designs, it is much easier for coworkers, team members and classmates to pick up and continue work. Including this information in the parts and assemblies ensures everyone stays on the same page during the design process.
Setting up coating regions
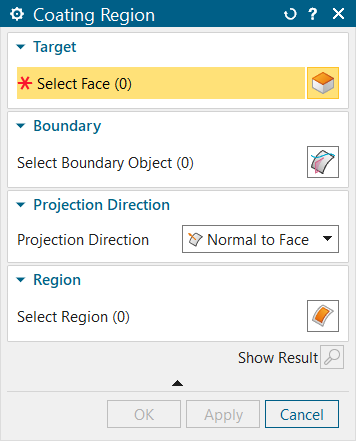
To begin creating coating layers, the first step is to create a coating region. A coating region is a boundary that defines the area of the part or the component to where we want to apply a coating.
Coating regions are created by selecting faces from one or more components in an assembly. Additionally, you can also select curves, sketches, and edges to define the boundary of the coating region. By providing a new coating layer for different regions, a truer representation of painting information for an assembly is provided.
Staying organized with coating stacks
Using coating stacks is a great tool to keep your coating navigator organized when you are using lots of layers in your parts and assemblies. With a simple interface, it is a quick process to create and name new stacks. Additionally, you can reuse coating stacks to save time in scenarios where the same layer pattern is utilized. You can define a coating stack as a reusable object in the reuse library and then apply the reusable coating stack on a part or an assembly in NX. This helps reduce clutter and can expedite the design process.
How can the Coating Navigator help?
One of the largest benefits of using NX Coatings is with the mass property calculations that NX makes behind the scenes. Because NX automatically determines the mass properties of a coating, it eliminates the possibility of human error in manual calculations. The Coating Navigator contains data including volume, mass, and area of new layers. This can be useful for determining the amount of coating material needed for final production, while still accounting for overall mass impact.
Continue your journey with NX
Watch the Introduction to NX Coatings video here ▶️
Watch the Rendering Options Tips and Tricks video here ▶️
Take me to the NX design blog📚