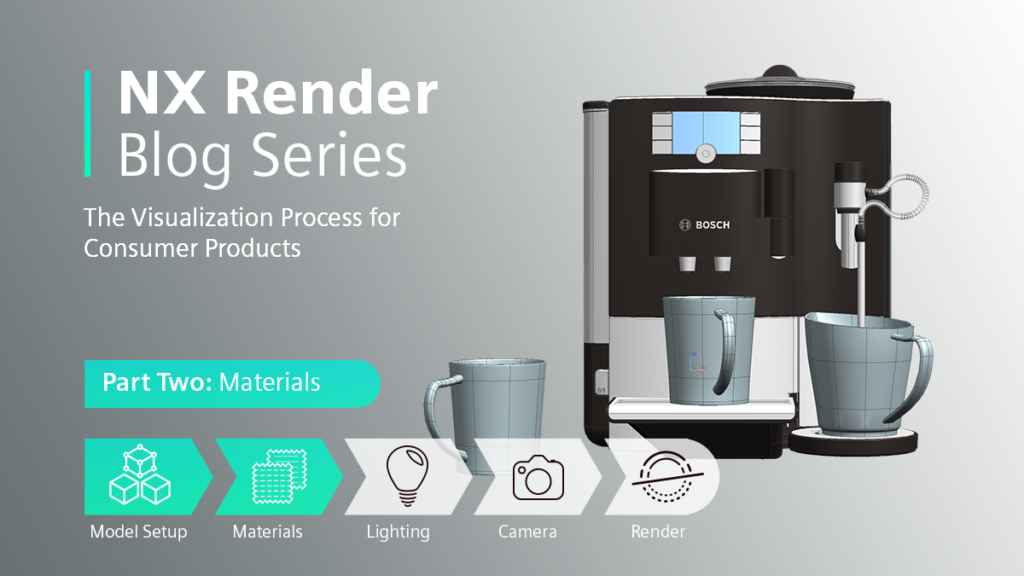
NX Render Blog Series: The Visualization Process for Consumer Products – Part Two
Introduction
Here we are with Part Two of our second series following the visualization process for consumer products. The same as our first series we will be moving onto all thing’s materials in this instalment. You have probably guessed from our first series and Part One, that we will be joined once again by our visualization expert Gavin McCambridge. Gavin’s knowledge and 20 years of experience are key in providing you with the best visualization tricks. Whether it be working with huge scales like the JCB, to now looking at the tiny details and specifics in a model like the Bosch coffee machine, we’re bringing you it all. So, shall we get started?
How to Gather Reference Images
How do you start by imagining your model and planning how it’s going to look? I’m going to take a guess and say probably by looking up and researching reference imagery; and that’s absolutely the best way. A simple Google search of your model, or similar, will give you the most accurate representation of the material finishes you want to aim for and provide you with a good guide.
“Although in some instances you may have access to prototypes or physical material samples, this simple technique is so easy to achieve a photo realistic look.”
Top Tip
“There are three things to consider when you’re searching for your reference images. Try your best to find the actual model online, or at least a very similar one; and secondly, try to find close up images. This will help with material references for all the components, like plastics, metals and so on.”
Something else to consider at this point in your research is the environment in which the product is likely to be set. Think about the lighting; is the setting interior or exterior? Day or night? Is the lighting natural or manmade? Keeping in mind all these types of questions will help you when referring to these images when polishing your model.
How to Apply Materials to your Model
If this is your first time applying materials to a model, don’t worry, we’re going to go step by step. Start by having your reference imagery to hand and the key here is to work from the outside in. This process of applying materials to the largest parts of the model first, and getting these correct, will make it more obvious to then work on the smaller and intricate details.
“Once the biggest parts have materials on, you’ll start to get a feel for your model and how it’s going to look as a finished design.”
NX offers three methods for applying materials; to a component, to a face or to a solid body, this means you can select individual parts of the model to put materials on at a time. Although this may sound like it’s going to prolong your design and visualization process, it’s actually going to save you time as the solid body technique specifically allows you to drag-and-drop the same material if it is repeated on multiple parts. For example, if one side of the model is the same grey shade as another part, you can simply drop and duplicate this color onto a different solid body of the model.
How to Edit a Material
Once you’ve got your materials mostly on your model and you’ve started to get an overall feel for how your model is going to look, you may start to see some discrepancies in your materials compared to the reference ones. Don’t panic, that’s ok, as this is easily amended.
“On your ribbon bar, you can navigate to the ‘render’ and enter ‘studio task mode’. Click on ‘materials in part’ to see all the materials that are applied to your model. You can then select the material you’re unhappy with and click ‘edit’.”
Like Gavin says here, you have the option to diffuse the color of your material. If the grey of one side needs to be slightly less dark, or darker, this enables you to drag a slide in whichever direction you need – simple! Just remember to confirm your changes once you’re happy.
How to Create an Emissive Material
This specific coffee machine has two light-emitting diodes (LEDs) on the front panel above the buttons. In order to create this in the model Gavin has used an emissive material. These particular materials can be found in ‘System Studio Materials / Lights’. Once you have applied the material, you can then edit it by clicking on the materials in ‘part tab’ and navigate to the material you just applied.
“When I am editing this type of material, I like to have open the Ray Traced Studio window so I can get good feedback on the material that I am editing. To edit the ‘lit’ material, right-click on the material and navigate to ‘Edit’.”
Applying Decals
You may remember that we looked at decals in series one, but just in case – a decal is an additional piece of data you can apply to existing geometry, think of them as stickers! With this model in particular, the Bosch branding is the decal that we’re looking at specifically.
“One tip here is to change your file filters to include PNG Files. This change is important as they support transparent backgrounds. For this model in particular, you want to make sure you’ve chosen ‘center’ as your anchor point to ensure that the decal is aligned to the center point of the image when applied.”
Decals are an important step in the visualization process that really propel your design into looking like the real-life model. NX offers a mix of small, detailed changes to emphasize and highlight the subtle changes that make the biggest difference. For example, you can also look at determining the orientation of your decal and the scale of it. These combined with the correct location alignment and reflectivity, really tie your model and its overall look together.
TOP TIP
“When applying a decal there are a number of steps that you will need to follow to get it setup correctly. First off, select the faces that you want the decal to cover, then choose the image file you want to use. Next, specify up vector, and specify normal vector. Lastly, set the scale of the decal.”
Summary
Just like that, part two of this series is complete. Hopefully this installment, along with the materials blog in Series One, has helped you to build your confidence and you can feel yourself becoming more of an expert in the visualization process! By bringing you such diverse examples like the large scale JCB and this smaller, delicate model we are providing you with the perfect mix for showcasing how this process can be applied to all models and still produce the same quality of beautiful renders. Don’t forget to stay up to date with our posts so you don’t miss Part Three, lighting your scene!