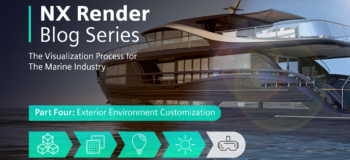
NX Render Blog Series | The Visualization Process for The Marine Industry – Part Four
Introduction
It’s been a while since our last instalment of the NX Render series for the marine industry, but here is the next entry! We said in our previous blog, that covering the environment set up for such a large model is a lot of content. To break this up, this part will follows on and concludes the environment part of the visualization workflow. This entry will focus primarily on the exterior of the environment and looking at the ocean creation specifically. It’s probably a good time to remind you of our marine webinar in case you missed it, as it covers this same Princess Yachts X95 model and delves into all aspects of the workflow. With that, let’s get started and see what visualization expert, Gavin McCambridge, says about this key stage!
How does the ocean look so realistic?
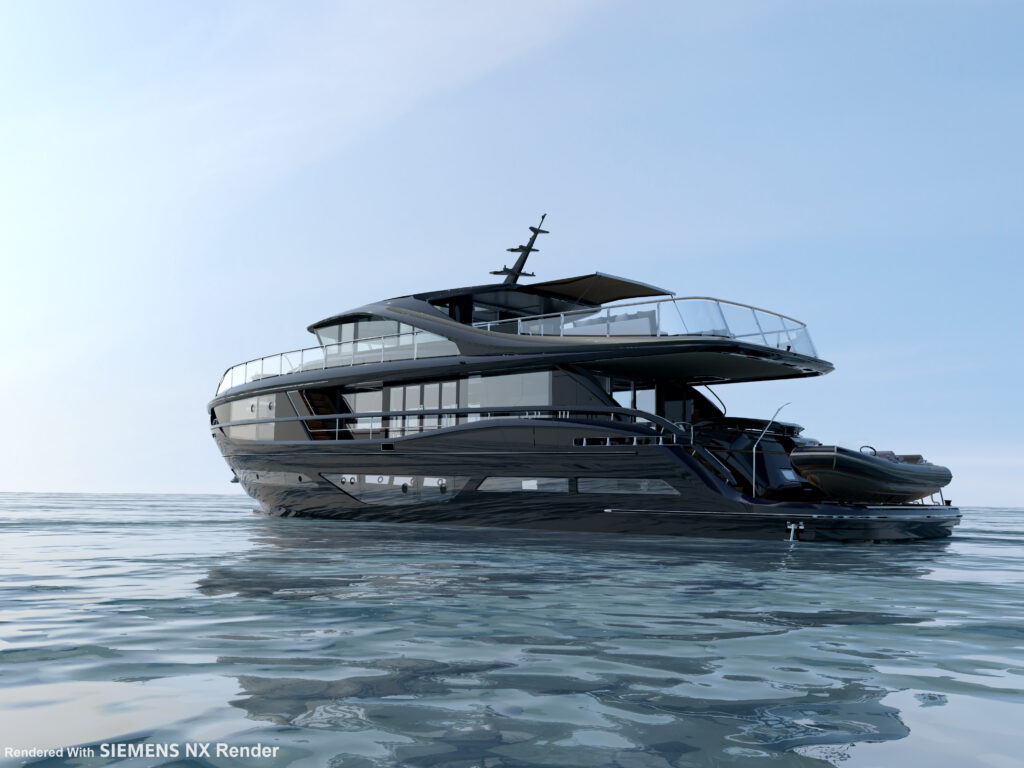
It’s inevitable that when we look at this model, we’re not only impressed by the yacht itself, but also its surroundings. The ocean in this scene is so impressive, that to some, it might look like a photograph. However, lucky for you, in this section, Gavin is going to share with us how he created such a realistic environment.
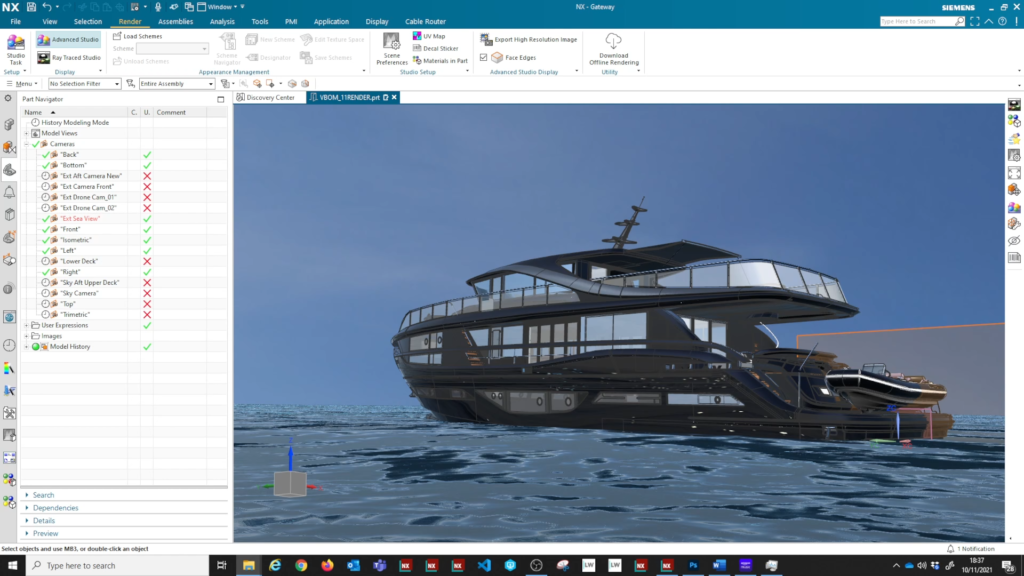
“The approach we took in this was to create it in geometry. We started off with a sketch of a square and then from the sketch we applied extrusion, and then went to the 3d texture function in NX.”
3D Texture Mapping
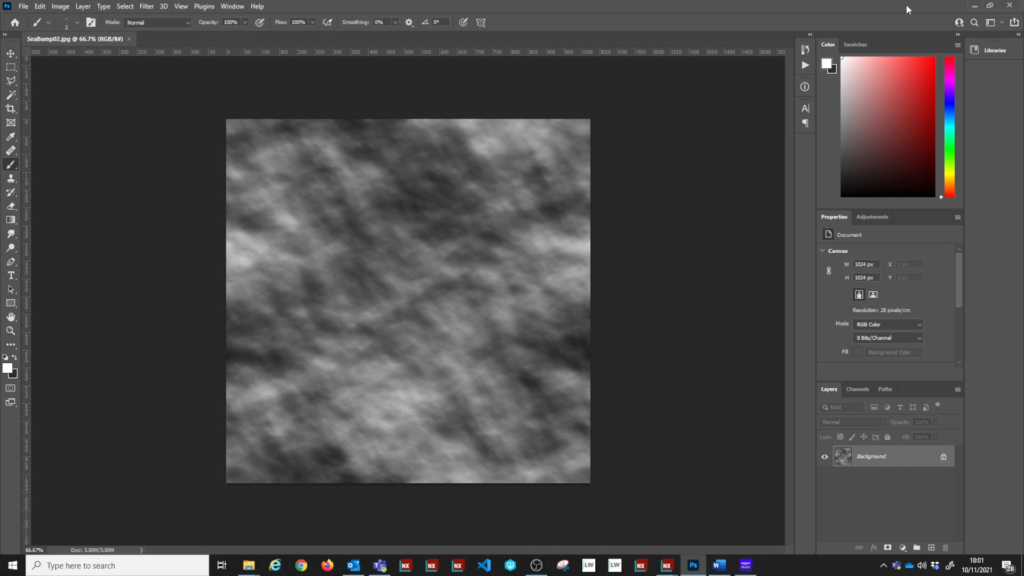
This technique allows the user to use a black and white texture more commonly known as bump map to create their geometry. You first have to setup your UV’s, which then makes it easier to see where your texture is going to sit, and how it’s going to sit along your UV axis on a 2D shape. When you’re at this stage, NX provides multiple options here for you. You’re able to change how it’s scaled, how it will be applied and like previously said, where it’ll be placed.
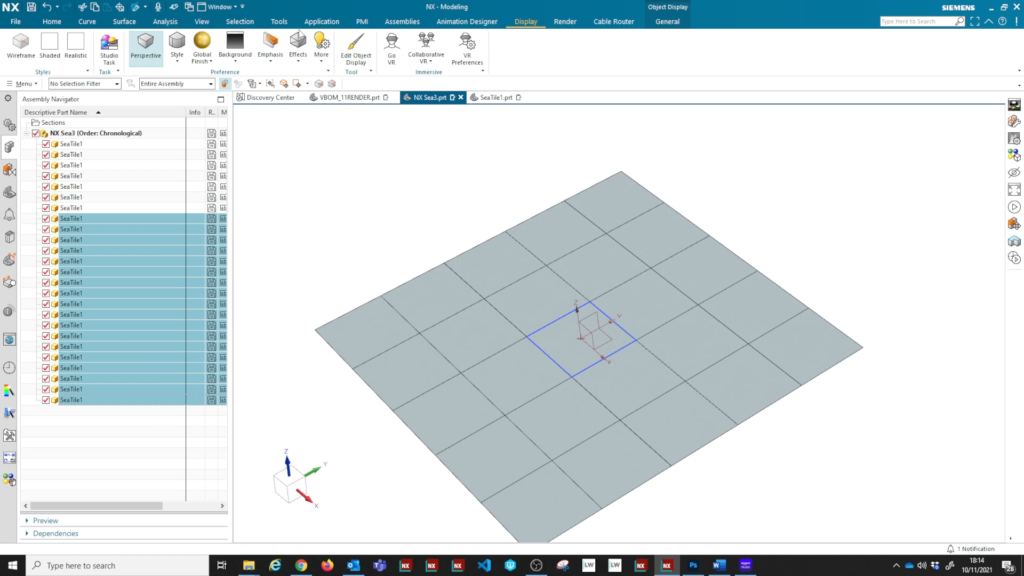
This is just one of the key features in NX that enabled Gavin to create this authentic look. The 3d texture function allows a ‘tile’ to be created and have a texture added to its surface. This tile can then be duplicated to create a grid, which in turn, fills the look of the sea.
“Another setting to point out here is mesh refinement. You can say here if we want a really fine mesh, or we want a quite coarse mesh. And this all depends on what level you work in. If you’re working on something that’s going to be shown off, you might want to go with fine or extra fine.”
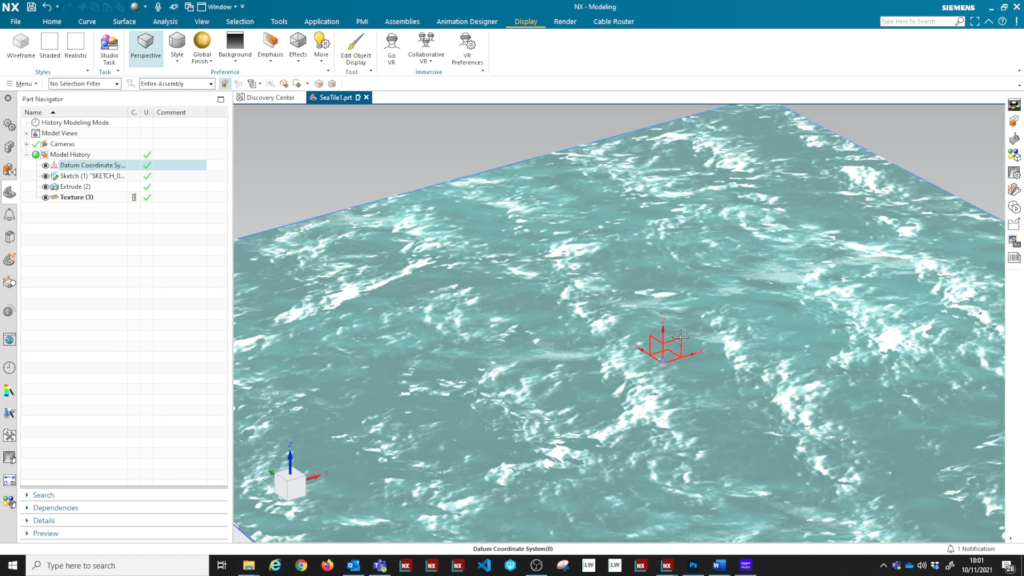
This stage is valuable as it gives you options depending on the process you need. If you’re needing something in a hurry, then perhaps change some of your settings at this stage to get to render faster. Once you’re decided on which option works best for you at this stage, you can go into the viewport to see how it’s starting to look and carry out a test render. Producing renders, specifically at this key stage, using NVIDIA RTX enterprise graphics can dramatically speed up your creative design workflow. NX Render supports NVIDIA RTX-accelerated ray tracing along with AI-accelerated denoising for significantly faster rendering at these essential times.
Something to bear in mind; obviously at this stage you’ll only be looking at the geometry set up as you have yet to apply material to it. However, it still helps you figure out the intricacies before adding detail.
An active environment
The environment in this scene is different from ones we’ve looked at before. The other environments have been static, in that the scene around the model doesn’t need to capture movement. Let’s look at how using a HDRI (high dynamic range image [see blog three for a recap]) can easily allow the creation of movement.
“It’s quite a simple setup, actually. NX basically allows you to load in your HDRI. And then from that we’ve got a number of settings that we can input into.”
Looking at this environment specifically you set up your ‘up vector’ first. So, this focusses on how your background will be positioned. From there, NX also allows you to set your rotation angle. With this scene in particular you can see there is a clearly defined area of where the sun is. With NX enabling you to alter your rotation, you’re able to move the sun around to best suit your model. This is an especially useful tool for this model as it is on the ocean. Meaning Gavin hasn’t had to infer there is a ground as the water is supplied by the geometry. Catch up on the webinar for more on this!
“After this, the other stage is going into ray trace studio and setting the intensity. This is basically how bright you want it set.“
Adding your own HDRI into NX is simple as we’ve previously said. You can then define how you want it to be shown within the scene. In this case, Gavin has set it to ‘background’ and called it an environment; and that’s it!
Dome vs a backplate
One of the main differences in this model is that Gavin used a dome for the environment over a backplate; like we’ve looked at in other blogs. Let’s take a look at why Gavin chose this affect instead.
“What we were looking at here is how can you get the maximum usage out of your scene? With an ocean for instance, you’ve got this kind of infinite background of mainly water for as far as you can see.”
By choosing a dome instead, this creates the concept we know when you look out at the sea of that never ending horizon. This choice also allows you to get multiple shots of your model and environment without having to change any settings. With a backplate for instance, although great in other settings, you usually need to amend lighting or even rotations per shot. So not only has a dome enabled Gavin to create that never ending horizon, but it’s also saved him time at final render and output!
The perfect environment to match your model
Perhaps an obvious one, but you might have noticed by now that all our models exist in relevant environments. The JCB on a dirt road, the Bosch coffee machine on a kitchen surface, and now the Princess Yacht. This attention to detail massively helps with design reviews as you’re seeing your model in its true environment and makes conversations easier. What we mean here is if we were putting these models in an empty warehouse, questions might arise over the lighting or how the materials are appearing. Not only is its ‘true’ setting giving the model it’s biggest ‘wow’ factor, but it’s also the closest example of how the physical model would be.
This decision entirely depends on what you’re creating your model and environment for; but for design reviews in NX, this is definitely a big factor to consider.
Summary
We really hope you have enjoyed this entry and stay tuned for the final one! We will be adding an additional instalment to our previous series’ and looking into the benefits of virtual reality design review with NX VR. Catch you on the next one!