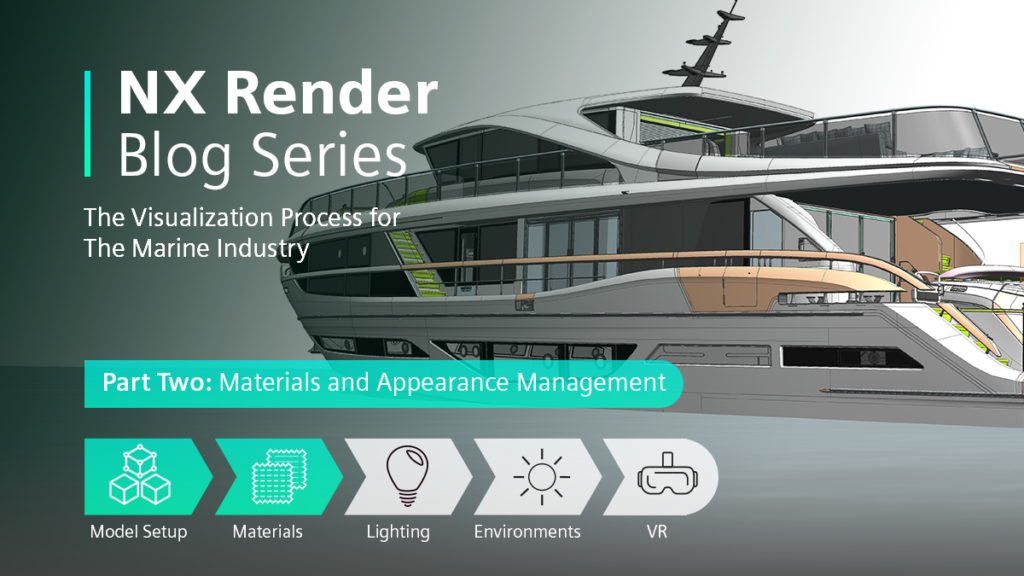
NX Render Blog Series | The Visualization Process for The Marine Industry – Part Two
Introduction
You have likely seen by now that the latest version of Siemens NX introduced Appearance Management. We hope from reading our other blogs that you understand the importance of material application to your model; but do you know the importance of managing your visualization data to achieve a well defined and comprehensive digital twin? If not, this second part of our marine series will talk you through an effective visualization workflow within Siemens NX, alongside the guidance of visualization expert Gavin McCambridge who will be focusing on applying materials to the model with Appearance Management.
Key to Impressive Looking Materials
A significant point we’ve raised in each blog so far is the personalized editing that NX allows you to have – the importance of making each model unique, and each design unique to the user. The new SVM library is available in NX 1953 and upward. Created with the intention to provide users with a rounded library full of thousands of materials to then build from. From this ‘off the shelf’ library, the user also has the option to edit certain attributes that are necessary; let’s look at the yacht for instance. Perhaps the color on the exterior needs diffusing, or the reflectivity amending; these changes are all made easy with the new library.
Applying Custom Texture Maps
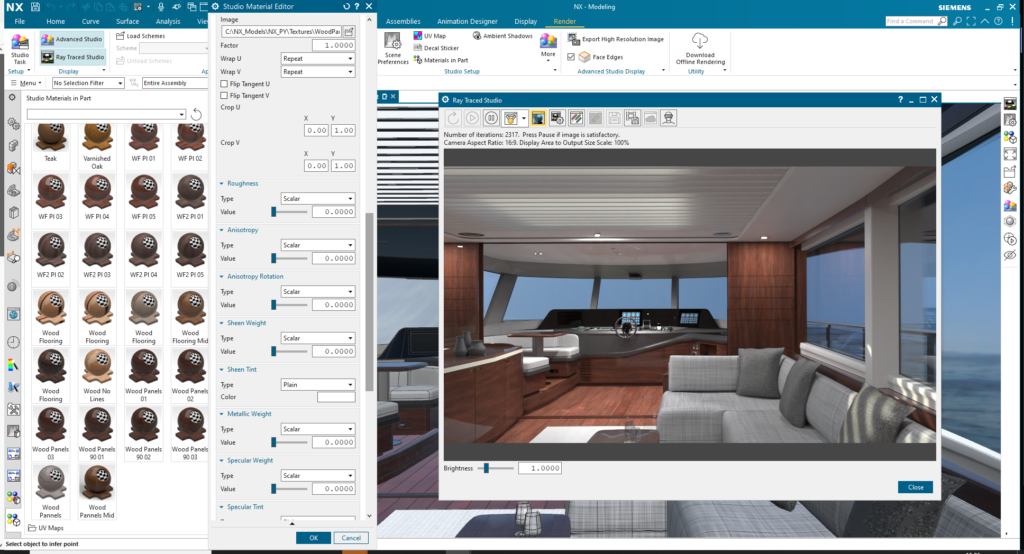
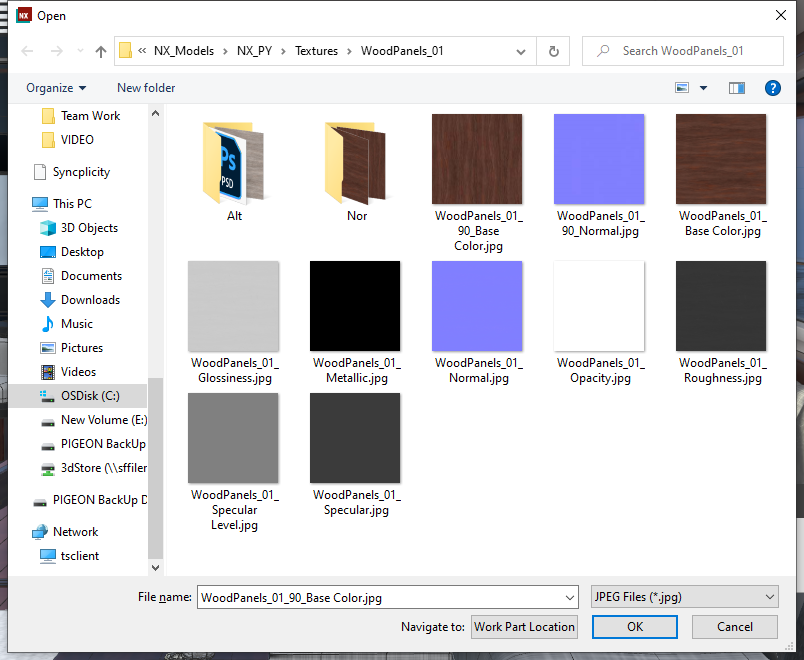
Continuing from the library of pre-made materials, NX offers two modes of editing. A basic mode that gives you access to library mentioned above, i.e. a strong starting point, and then an advanced section. In this section there are nodes that allow the user to add their own textures, say a specific wood finish. So NX provides you with a basis material, where you can then go in and edit these to your desired material and plug in any materials you may have worked on in other image editing software into these nodes.
TOP TIP
What you can do is if you have your own textures that you’ve worked on, all you have to do is make sure that your materials are tiled correctly, and it’s very easy.
“The two different ways of editing in NX really allow you to go in and do the finite edits. And all this is either driven by a float value, so a zero to one, or a texture map. You can plug either in and it works.”
Perfecting the Finite Details
When working on such a large model, perfecting some of the most finite details are what helps define a good model from an amazing one. One thing to pay attention to is how the brand present themselves. How do they want to appear in marketing material and websites?
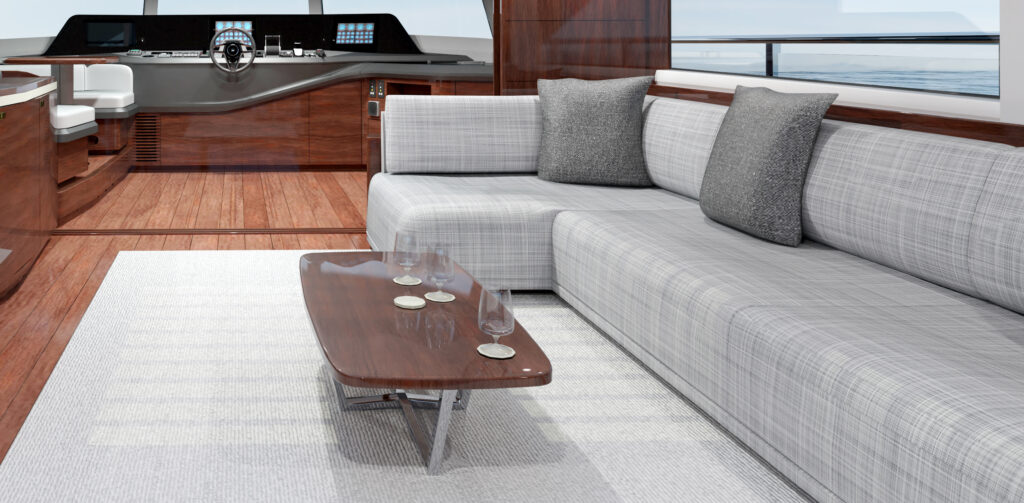
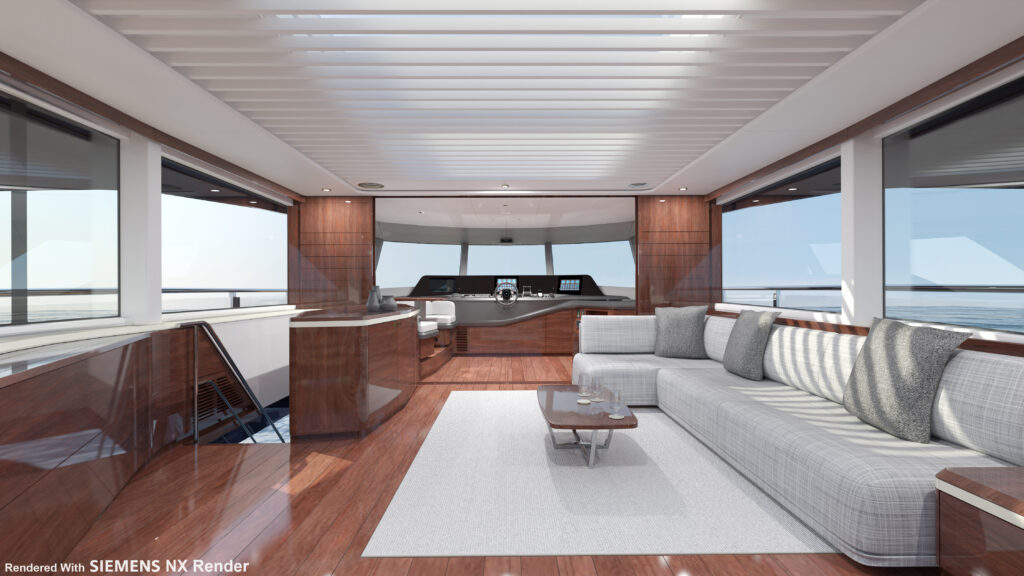
“What we’re interested in at this point is a super high-quality gloss or satin finish. So, say for instance a wood. A yacht wood is often very highly lacquered and a very highly polished, reflective material. By adding a clear coat on top of the actual wood materials we create, we then give it that super quality look.”
It’s interesting here to focus on how these materials are worked up to achieve the specific look required. This can also be seen in the sky lounge area of the yacht, where the fabric has been added in as a custom texture to emphasize the depth and shade.
TOP TIP
As we’ve said in Part One, it’s understanding the brand and what you’re trying to do from the reference imagery. At the end of the day, the visual is supposed to be showing off your intended products or model. For me it’s making sure it looks like it is from that company. Spend time in the model and on your personal workflow to have the materials right. Constantly checking it, rendering it and get it just in small renders to see how it’s looking.
Producing renders using NVIDIA RTX enterprise graphics can dramatically speed up your creative design workflow. NX Render supports NVIDIA RTX-accelerated ray tracing along with AI-accelerated denoising for significantly faster rendering at these key times.
Benefits of Appearance Manager for your Workflow
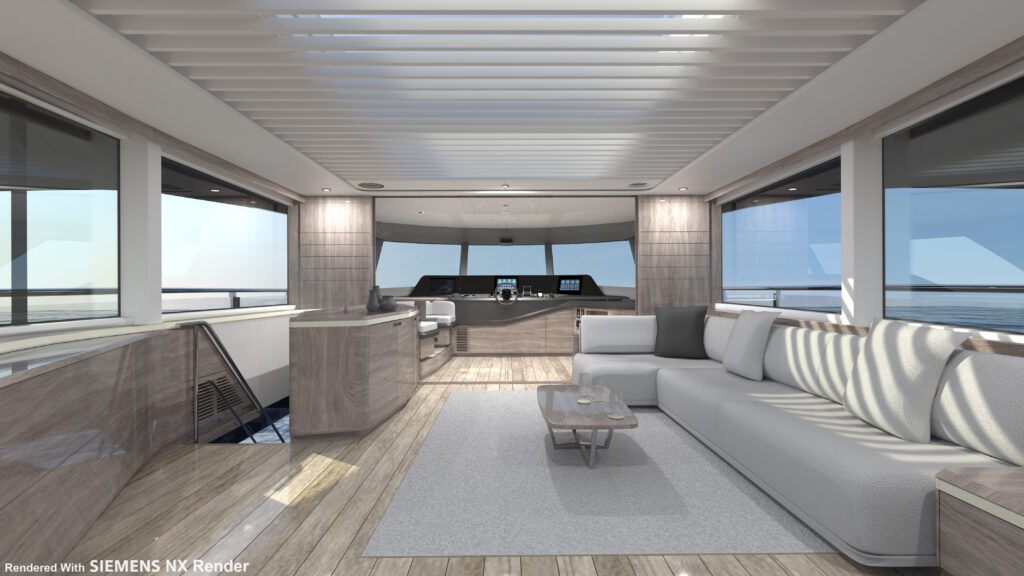
Incorporating Appearance Manager into your visualization workflow will help make these sorts of changes much easier. Appearance Manager is based around ‘schemes’; what we mean here is different color schemes and material finishes, and Appearance Manager allows you to set up different schemes within your model. With this yacht for instance, Gavin has used two different sets of wood. Having schemes set up here enables Gavin to switch between a darker wood and a lighter wood more easily, while changing materials on specific parts of the model.
“For example, the soft furnishing seating area; that can also change at the same time as the wood – and this is all set up in appearance manager. The great thing about that is you can set as many schemes up as you like.”
Setting Up Schemes
Setting up your schemes isn’t a challenging process, but it is important to bear in mind how exactly you want things to change. What we mean here, is say for example you want all the wood materials to change at once; you would set your scheme up and select all the parts that need to change at once and add them into a designator. This then allows you to set that exact designator up as knowing all those parts are that chosen material, and when they’re on a different scheme, they’re another material.
This may also be helpful in the opposite case. For example, on the soft furnishings on the Sky Deck, there are parts that need to change on a certain scheme but not necessarily in another. All you need to do here is detach them and have them as a separate designator at the same time. It’s then important to check that all the materials are changing correctly.
“It really does give you the flexibility to be able to set up and go down to that level that you want. The great thing about it is you can set all these schemes up and then you can flip between them and share them with someone else with the model. You can just send them the files needed to do that, and they can then load those schemes in as well. It’s a great quick way of showing different finishes.”
Remote Working Advantages
We can all relate to the changes of remote working over the past two years and so this feature of sharing schemes is key. Easily share files across any location, so long as you both have a copy of the model dataset. This hugely helps any teams for reviews and saves precious time for designers.
Summary
And that’s that; part two of our marine series is at the end. Hopefully you have taken away key tips into utilizing Appearance Manger when applying your materials to your model. If you find listening is more for you then don’t miss our second Render Talks in the coming weeks. We will be bringing you part three of this series in November, delving into lighting and geometry of the ocean. Thanks for reading!