Material rendering tips and tricks in KeyShot for Solid Edge
Renderings and photo-realistic images from CAD models provide fantastic ways to communicate and market a product before any physical prototypes are made. 3D rendering technology within KeyShot for Solid Edge enables you to create high-quality, photo-realistic renderings, animations, and interactive visuals for communicating your product to colleagues, suppliers, and customers.
Applying material to your renderings in KeyShot is one of the main ways to boost the quality of your images. In this article, we’ll share three tips to help you more easily and quickly apply materials within KeyShot for Solid Edge.
Tip 1: Linked materials can save a lot of time
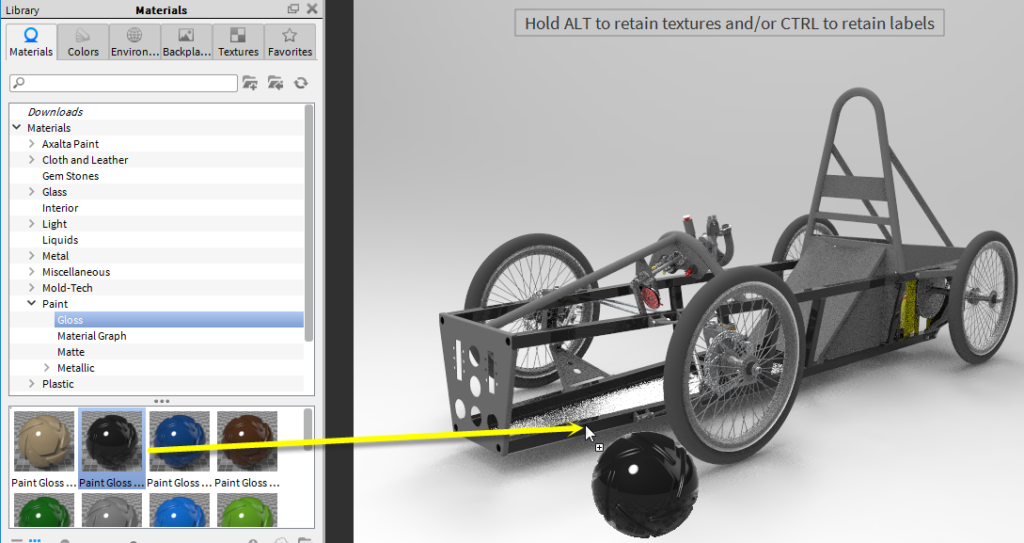
To apply a material to a component, simply drag the one you want from material library in KeyShot and drop it on the part in the graphics window as shown below.
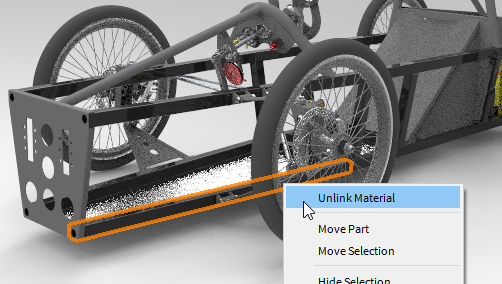
However, in some cases you may want to have one material assigned to multiple parts to be able to make changes to that material, and to have the changes affect all parts. Here’s where linking materials can be very useful. All of the components within a subassembly with the same material definition are also assigned that same material by default (they are already linked). If you want a component to be a unique material in that subassembly, you can right-click on a component and unlink material as shown below.
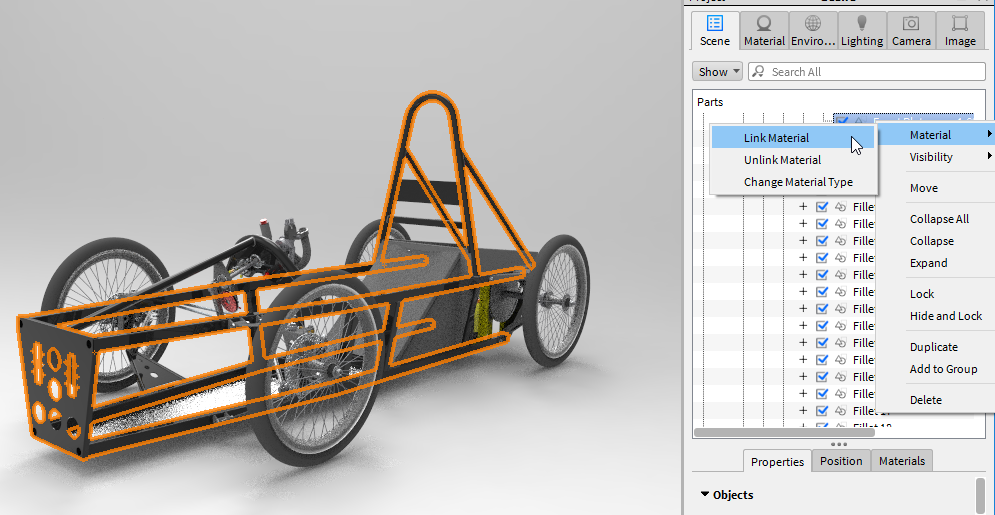
If the components are unrelated, you can select the components, right-click on the material in the scene tab of the project pane, and link materials as shown in Figure 3 below.
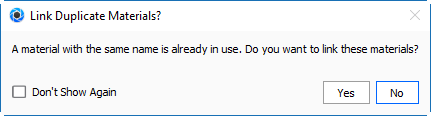
Furthermore, if you drag the same material on two different parts, you will be prompted with the option to link the materials via a dialog similar to the one shown in Figure 4 below.
Tip 2: There’s a trick to applying material to individual faces of a model.
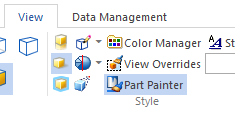
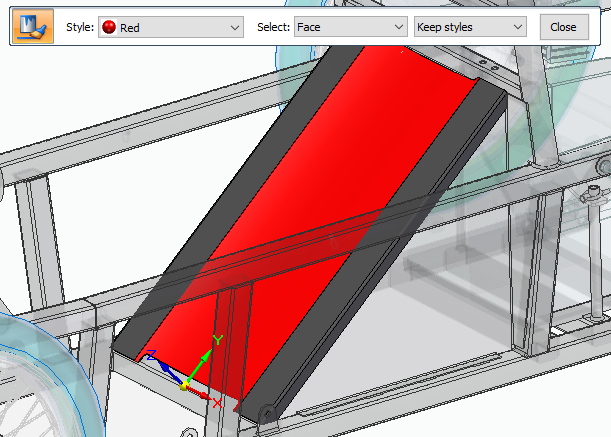
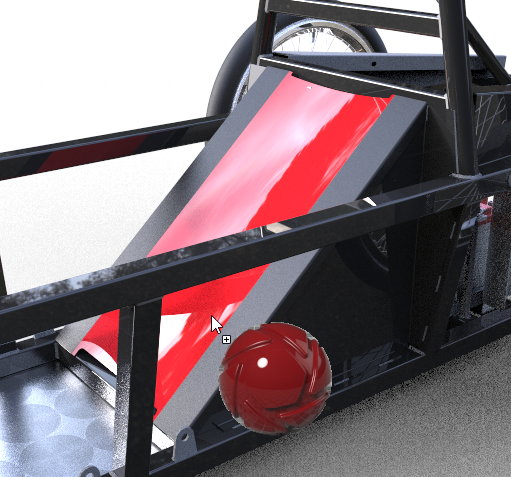
In KeyShot, individual parts can be assigned a unique material. However, individual faces of parts cannot be assigned a unique material unless the faces have been painted a unique color in Solid Edge before sending the model to KeyShot. You can easily achieve this by using the part painter in Solid Edge as shown in figure below.
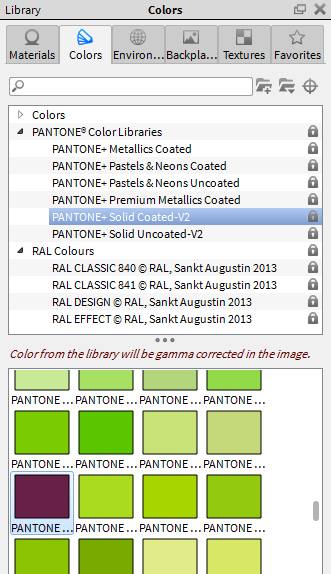
Tip 3: Use the Colors tab to quickly alter a material’s face color.
In some cases where you simply just want to alter the face color of a particular material without changing any of its other material properties, such as reflectivity, transparency, and roughness, you can use the colors tab available in KeyShot.
That’s it for now! With these tips, you should be able to apply material easier and faster in KeyShot for Solid Edge and show off your amazing renderings to your colleagues, customers, and stakeholders.
Experience the power of Solid Edge 3D rendering
A picture of your finished product can help you communicate your design to both internal and external stakeholders. The beauty of rendering is that you can generate photo-realistic images before you even cut the first piece of material to manufacture your product. Solid Edge offers built-in rendering, allowing you to create photo-realistic images and animations from within your CAD modeling environment.