How to not get overloaded by signature testing (without 15+ years in NVH)
An experience of time
Time flies quickly, the forties are knocking at my door.
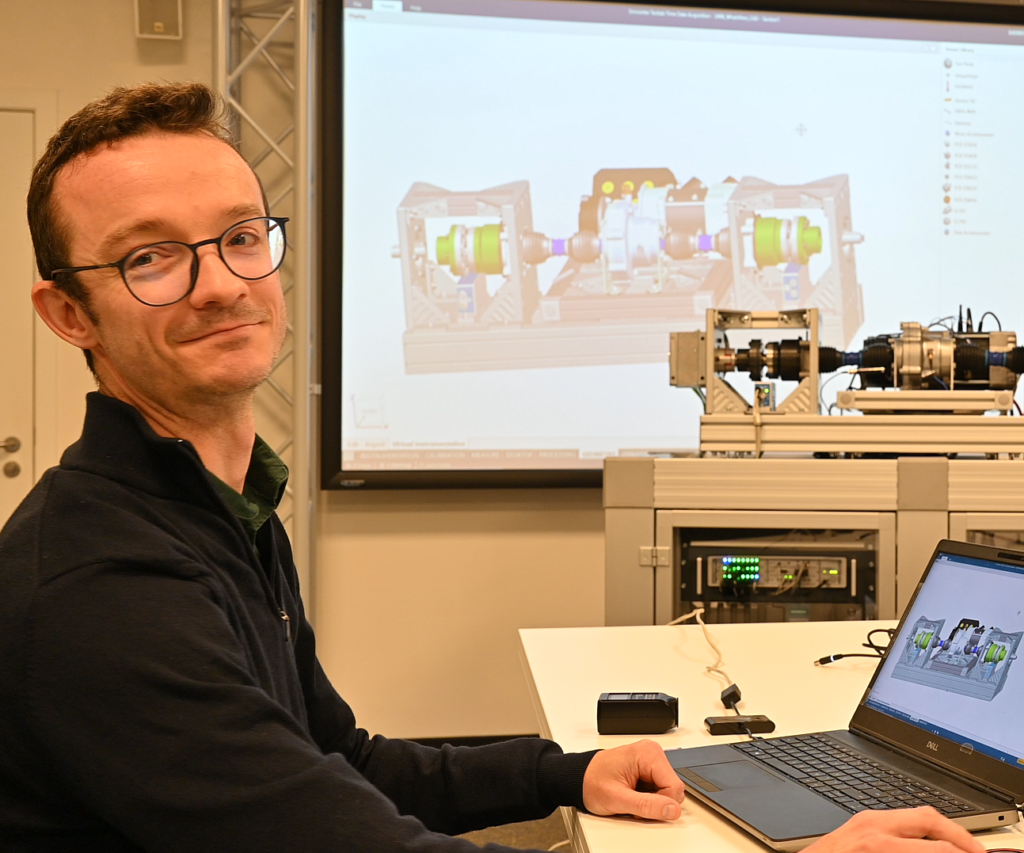
No worries, you are still reading a Simcenter Testlab blog, not lifestyle magazine. But do allow me to talk a bit about myself for once, not only about steering wheels and NVH.
I have been working in the testing field for over 15 years, including some support and engineering services roles before finally moving to product management. My professional experience has been always centered around NVH. These days I can find my way around multiple advanced software options, I know which settings are important and how to quickly validate any data. But that was definitely not the case almost two decades ago!
Challenges ahead
Many of our Simcenter Testlab users still consider themselves as ‘Novice’, especially when it comes to the new Neo platform. That is why I’ve challenged myself, prior to the first official Simcenter Testlab Neo Signature release in 2406, to make a solution that can work both for a inexperienced test engineer as well as for a hardcore operator with 20+ years of experience on the job. Ease of use and efficient testing are at the center of Signature Acquisition in Neo. Let me show you what that means in practice.
Signature Testing instrumentation overview made simple
Instrumentation and channel setup are the first critical steps. When measuring Multiphysics type of campaigns, there are the additional complexities of having a lot of sensor types, so a lot of parameters an settings as well. You can easily get lost. Which are the relevant ones? How do they impact the measured data?
In the latest Simcenter Testlab 2406 release, we have made significant enhancements to the channel grid overview. As a result, when users access the channel list, they will be presented with a concise and minimal list of parameters required to instrument sensors such as ICP sensors, voltage inputs, tachometers, etc. This revamped overview provides a compact and clear representation of the entire channel setup, allowing users to easily copy, paste, drag, and slide parameters as needed. Additionally, you can quickly identify any critical issue, such as overload, by arming the system.

However, it is important to note that the channel setup overview still allows for parameterization of any sensor type, including strain gauges, load cells, potentiometers, and more. Different views are available, allowing to focus only on the minimum relevant parameters for the specific needs.
Detailed single channel editing
But we have acknowledged that the traditional NVH representation of the channel list as a table might just not work for a multi-physics measurement – a quarter bridge requires 4 times more settings to be completed than an ICP microphone. That’s why a click on the Setup button brings you to the new setup page. This sheet is an interactive, single channel editing page. We have targeted simplicity and intuitiveness as the main goals of the development plan: sensor parameters are arranged per meaningful categories, all visible and reachable. And because all parameters are not required for all sensor types, we made the parameter list dynamic depending on the input type, the measured quantity, and the calibration model.
This new interface keeps the ability to visualize time and frequency data, and check the effect of parameter change interactively, while you’re instrumenting! Do you have any doubt about the required power needed to supply your sensor? You can check directly the effect on the time trace and validate the amplitude! Is your microphone working well? Whistle your favorite song and check the peaks on a live spectrum.
A complete gamechanger to the whole process of instrumentation is the support of CAD models, have a look at our new Virtual Instrumentation.
NVH Acquisition: monitor, measure, save and report!
Good data quality is the key, that is a no-brainer. You can understand this as a novice user, and you know it too well after some years of experience, when you had to pay the price for poorly measured data once or twice! In order to support the measure right first time credo we have provided a wide set of monitoring functions with Simcenter Testlab Time Data Acquisition 2406 release. And good news: it comes for free!
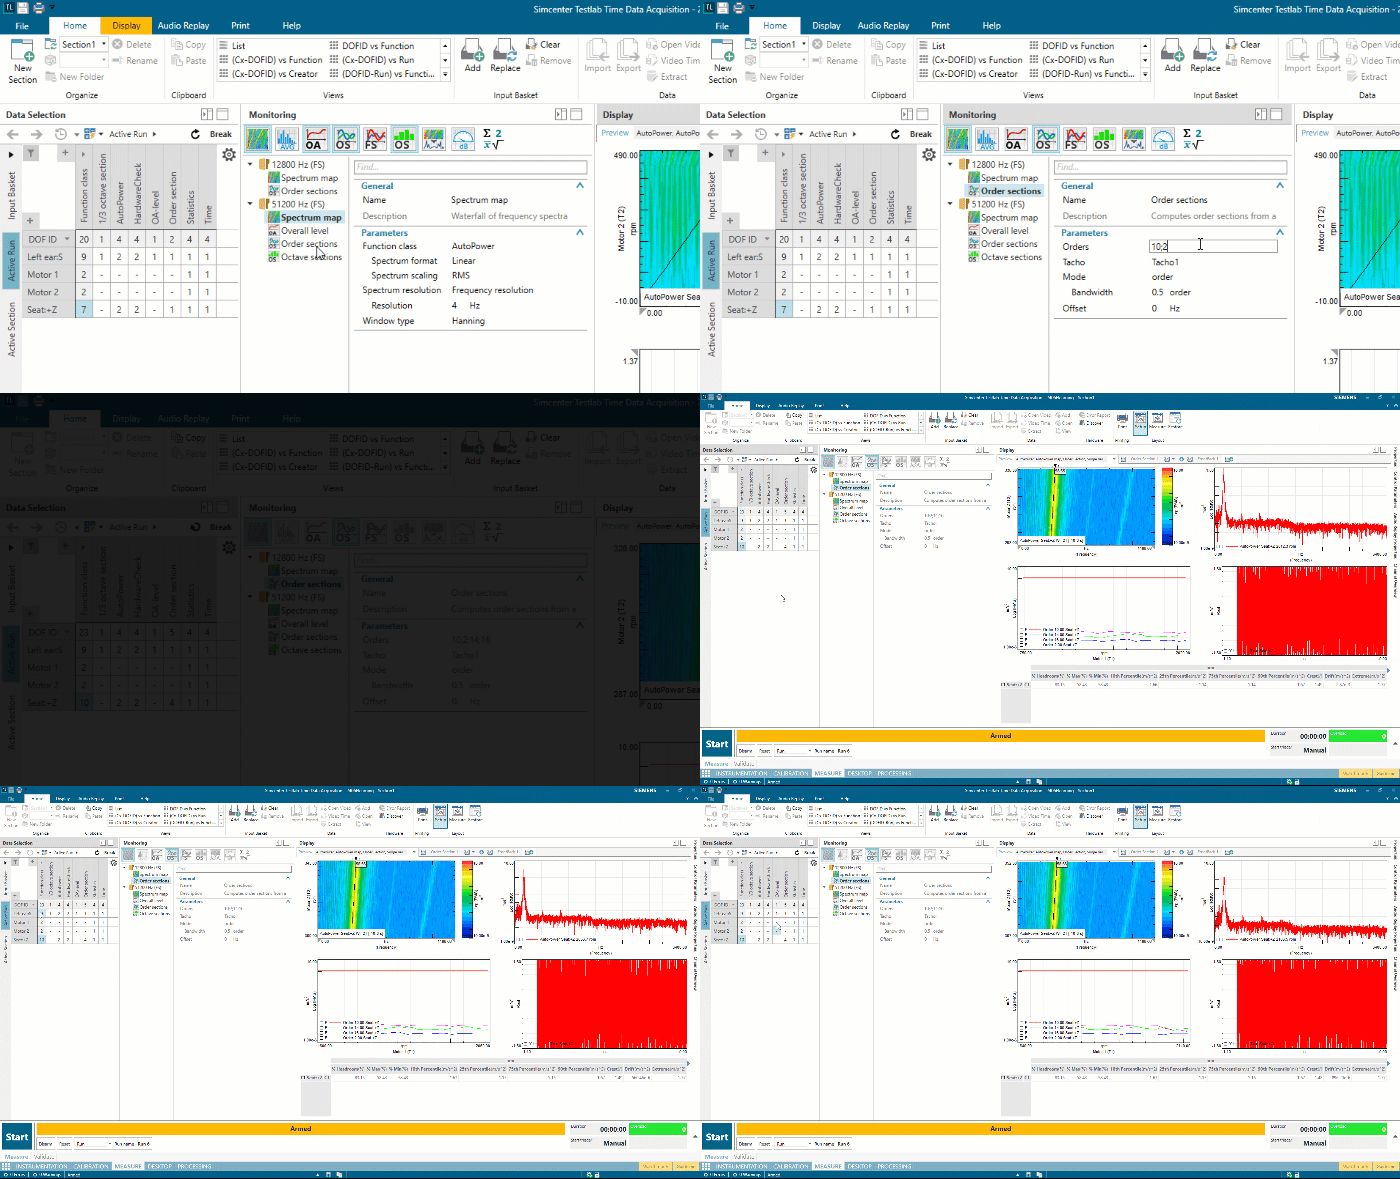
Here again we made sure that intuitiveness, interactivity, and efficiency remain the main drivers. The Measure worksheet includes a new pane with a set of important monitoring functions (waterfalls, order sections, overall level… amongst other). As soon as a function is added, it appears in the pivot view, and the auto preview does the magic! Arm the system, and you can immediately see all data! No need to go for complex process definition.
And what about efficiency?
Save time. Save money. Release the pressure on testing by making it more efficient. The physical testing job is getting tougher, as we get confronted with shorter development time and very limited availability of prototypes to measure. It’s good to make the experience simple and intuitive for a new users. But does it make it more efficient?
Typical requirements from a testing session are straightforward: measure, process data and check a couple of KPIs, report and share in a structured way for further analysis. I wanted this workflow to be achievable by anybody with minimum software or field experience. That is where all the power of Testlab Neo comes together with the use of templates. Template includes much more than a couple of settings. It is a complete measurement session that can predefined, including channel configuration, measurement and monitoring settings, processing and finally reporting.

This automation is the key value of Simcenter Testlab Neo. An experienced user can define a complete template, including complex data processing with automatic validation of data quality. This process can be automatically executed right after the measurement! The story is the same for data visualization and reporting. We know how simple it is for a new user to view data and eventually report it with the preview mode. It can be made even more efficient with predefined query-based reports.
And here comes yet another very nice efficiency improving feature of the Simcenter Testlab 2406 release: the batch reporting. Once the processing results are plotted in your predefined report, you are one click away from scrolling through runs (and/or other parameters, maybe the reference number of your Device Under Test? Or the name of your test engineer?) and proudly reporting your measured data!
Keeping it clean and simple
Template is done, reports are ready to be printed. Is there anything else that could be done to make this tool even more simple to use? Possibly the person doing the measurement doesn’t really need to use sensor database, do calibration or balancing… You can simply hide all these worksheet and build a dedicated workflow within Simcenter Testlab Neo, such that all it takes is a few clicks from left to right to get the jobdone.
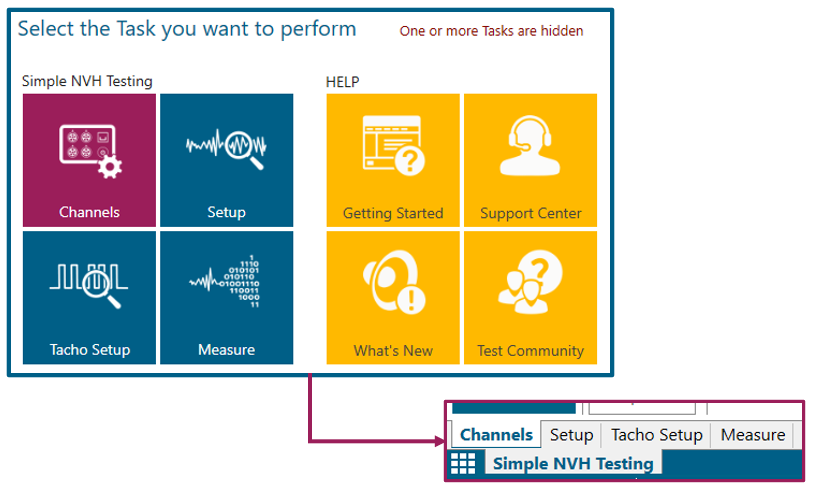
Signature Testing is in Simcenter Testlab Neo
Signature acquisition and processing, from instrumentation to reporting, can be done efficiently and intuitively in Simcenter Testlab Neo 2406, whether you are fresh out from university or you still remember how to write UPA code in CADA-X. So don’t let yourself get overloaded by NVH testing!
