Performance Predictor setup | NX Tips and Tricks
Welcome back to another Tips and Tricks post. Today, we are going to cover some useful functionality tips in Performance Predictor. First, let’s set a bit of background.
Performance Predictor is a powerful tool that allows you to test and compare different design decisions for your product without the need for physical prototypes. You can use it to perform mechanical analysis on your part using various forces and constraints and get results such as displacement and stress. In this blog post, we will show you how to use Performance Predictor to set up tests, select materials, and visualize the forces acting on your part.
Let’s dive deeper into helpful workflow tips.
Setting Up Tests
To start using Performance Predictor, you need to select New Analysis under Performance Predictor in the menu bar. This will open a dialog box where you can name your test and choose the type of analysis you want to perform. You can choose from several types of analysis: Static, Modal, and Thermal. Each type of analysis has different options and parameters that you can adjust according to your needs.
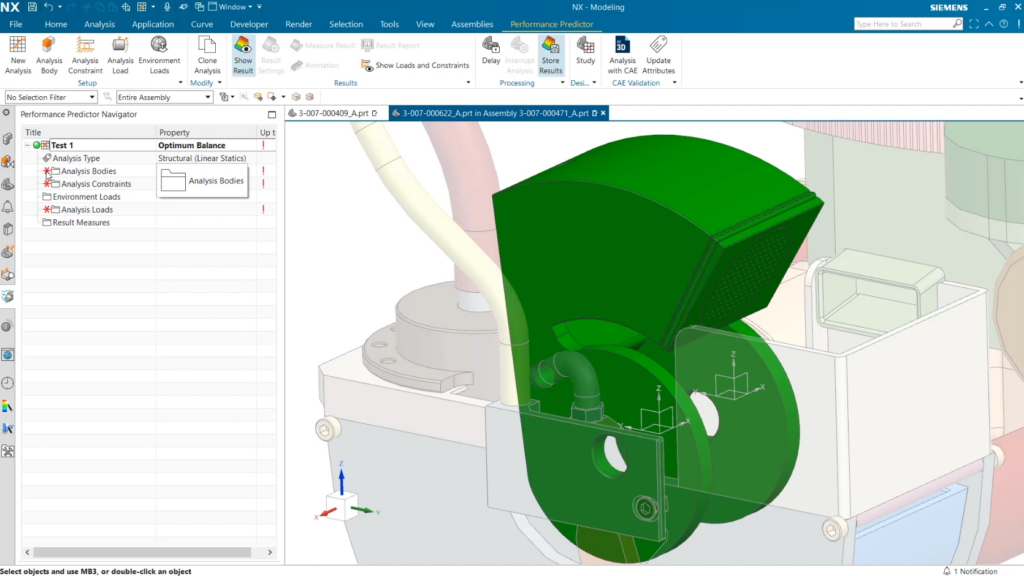
For example, if you want to perform a static analysis, you can specify the type and direction of gravity, the loads and torques applied to your part, the fixtures and supports that constrain your part, and the acceleration and rotation of your part. You can also define custom forces and constraints by selecting Custom under Analysis Constraints.
Selecting Materials
One of the most important factors that affect the performance of your product is the material you use. Performance Predictor allows you to experiment with different materials and see how they affect the displacement and stress of your part. To do this, you need to select a new material under Analysis Constraints in the dialog box. You can choose from a list of predefined materials or create your own custom material by specifying its properties such as density, elasticity, thermal expansion, and more.
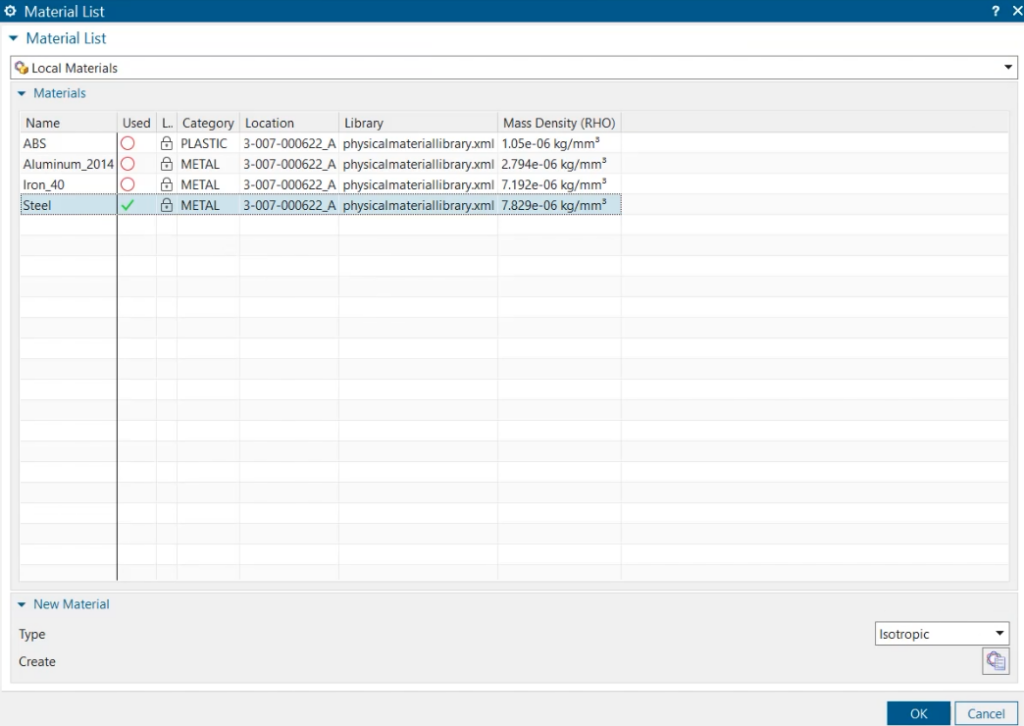
By selecting different materials, you can see how they change the results of your analysis. You can easily switch back and forth between materials by clicking on the drop-down menu under Analysis Constraints. This way, you can compare and contrast the effects of each material on your part and find the most suitable one for your product.
Visualizing Forces
Another useful feature of Performance Predictor is the ability to show or hide the visual representation of the forces and constraints acting on your part. By clicking on the Show Loads and Constraints tool in the toolbar, you can toggle between showing or hiding these elements on your part. This can help you better understand what is going on within your part and how it responds to the forces applied to it.
Showing these elements can also help you present your test results in a more formal setting, such as a report or a presentation. You can use screen captures to illustrate the forces and constraints on your part and how they affect its displacement and stress. However, if you are working with complex parts or parts that have many forces, hiding these elements can give you a cleaner and simpler view of your part. This can be helpful when you just want to focus on the results without any distractions.
Conclusion
Performance Predictor is a great tool to help you optimize your product design by testing and comparing different design decisions without the need for physical prototypes. Today, we looked at how to:
- Set up a performance predictor test and select the variables for strong results
- Controlling and choosing the material of the part to be tested
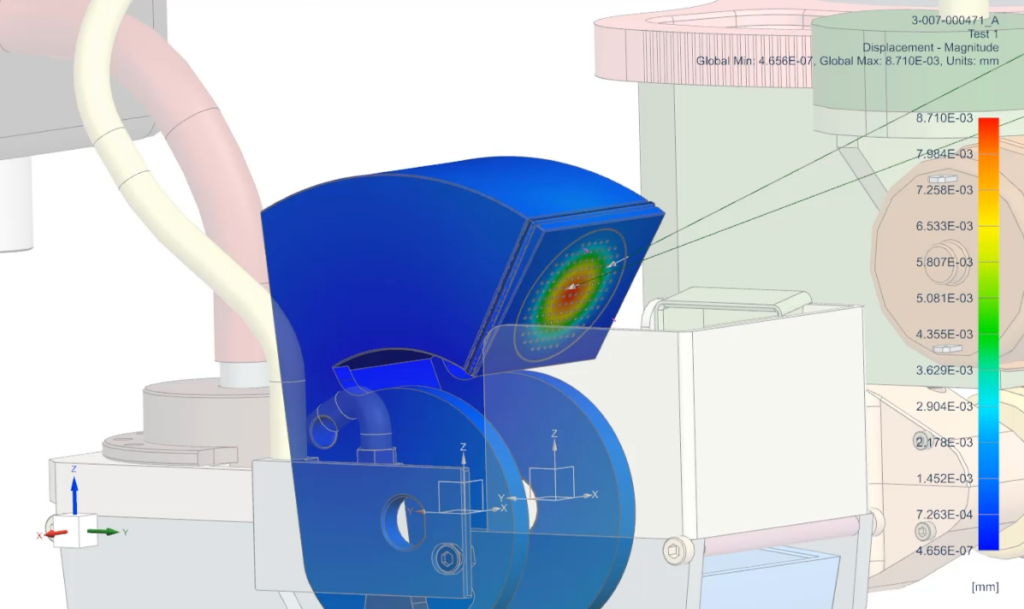
- Show a color gradient view of the part with displacement and stress values
- How to control the visual representation of the loads and constraints using a button at the top of the screen
Remember to check back each week to learn about more functionality within NX.