Designcenter NX | Tips and Tricks | Setting up Immersive Collaborator
As part of our ongoing tips and tricks series, we take a look at how you can set up an immersive collaboration session in Designcenter NX™ software. Immersive Collaborator allows teams to design together across teams, sites and regions, all within a virtual meeting room. Participants can design in context by leveraging Designcenter X NX software and discovery new collaborative workflows.
Throughout this tip and trick entry, the focus will be on this card packaging machine. We’ll show you how you can create a collaboration session and how you can perform a design review with colleagues.
NOTE
ICYMI, the December 2025 release of Designcenter NX is now available to download. This tips and trick blog is related to the June 2025 release. Be sure to check back throughout 2026 to see the latest enhancements for Immersive Collaborator!
Configuring immersive preferences
Before setting up a collaborative session, we recommend opening immersive preferences to ensure everything is configured. Once in the immersive preferences settings, it’s important to select the correct platform of use under Device. Immersive Engineering leverages an exclusive partnership with Sony, so make sure to select the aforementioned option from the drop down menu.
There’s also an option to choose to render in Studio Material, or Object Colors. For an immersive session, we recommend selecting Studio Material. If there is no need to host an immersive meeting, it’s possible to select between a mixed or immersive reality environment. In this case, it’s only possible to select a Virtual environment.
Creating an Immersive Collaborator session
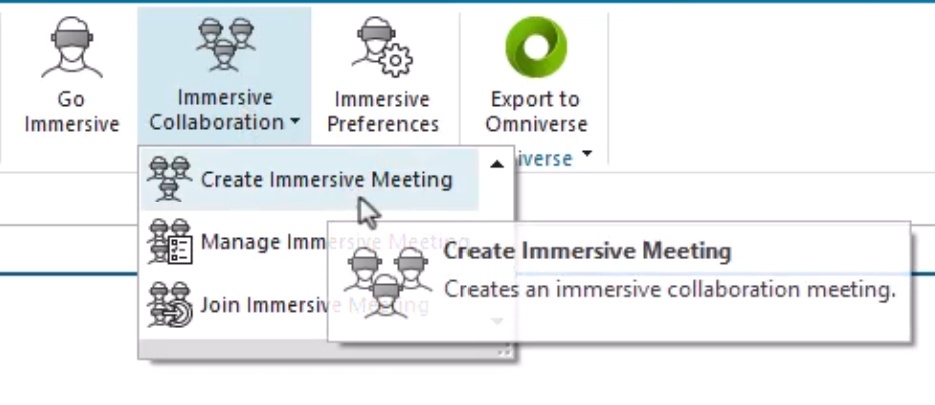
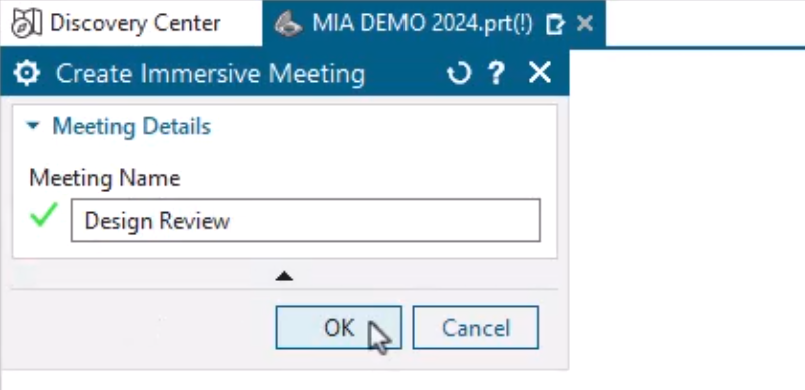
It’s incredibly easy to create a an immersive meeting. From the Display toolbar, Select Create Immersive Meeting from the Immersive Collaboration tab. A meeting name can be attributed in the following dialog box; we recommend any easy to remember name that adheres to company guidelines. When the name is confirmed, the meeting ID can be copied to clipboard, which can be shared with attendees selected by the meeting owner.
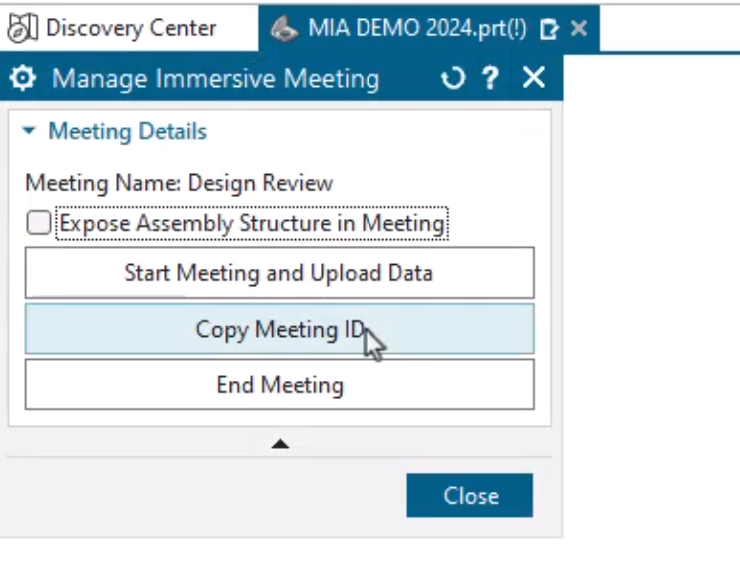
At this point, the meeting owner can start the meeting, and upload the data that will be used for the design review session. While the data loads in, the meeting ID can be shared with all required attendees. For colleagues that are wanting to join the session, it is incredibly simple. Colleagues can navigate to Display > Immersive Collaboration > Join Immersive Meeting and copy the Meeting ID into the following dialog box.
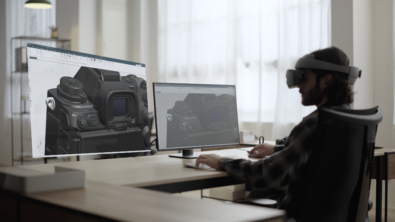
There’s a key differentiating point; colleagues who do not have a Sony HMD headset can still join using the desktop version of Immersive Explorer, or Immersive Designer.
Performing a design review
Once all participants are in the meeting, avatars will be seen in the immersive environment. Immersive Engineering enables unconstrained engineering, allowing all users to see every detail at 1:1 scale. It’s a tool that connects people, enabling smarter and faster decisions.
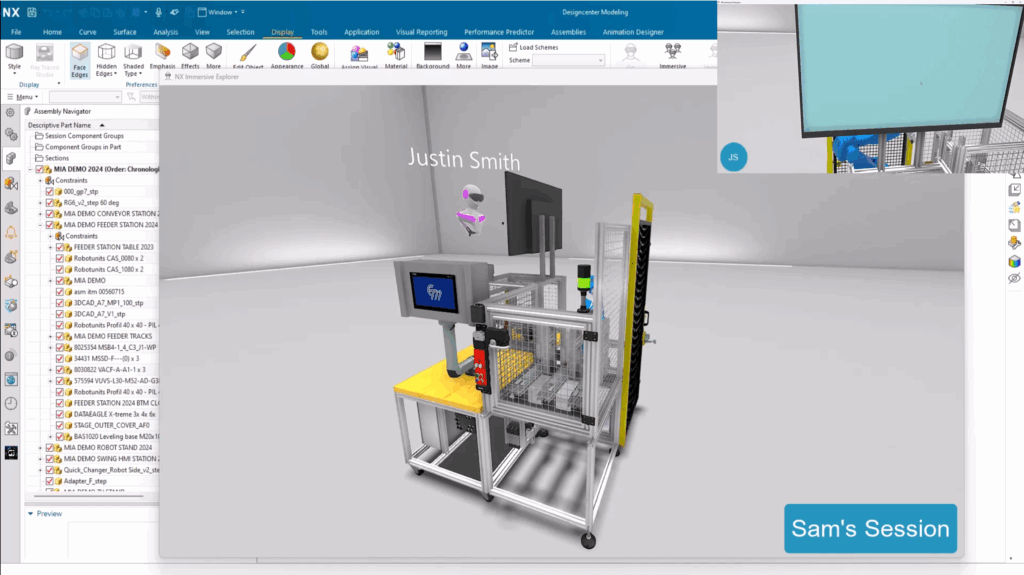
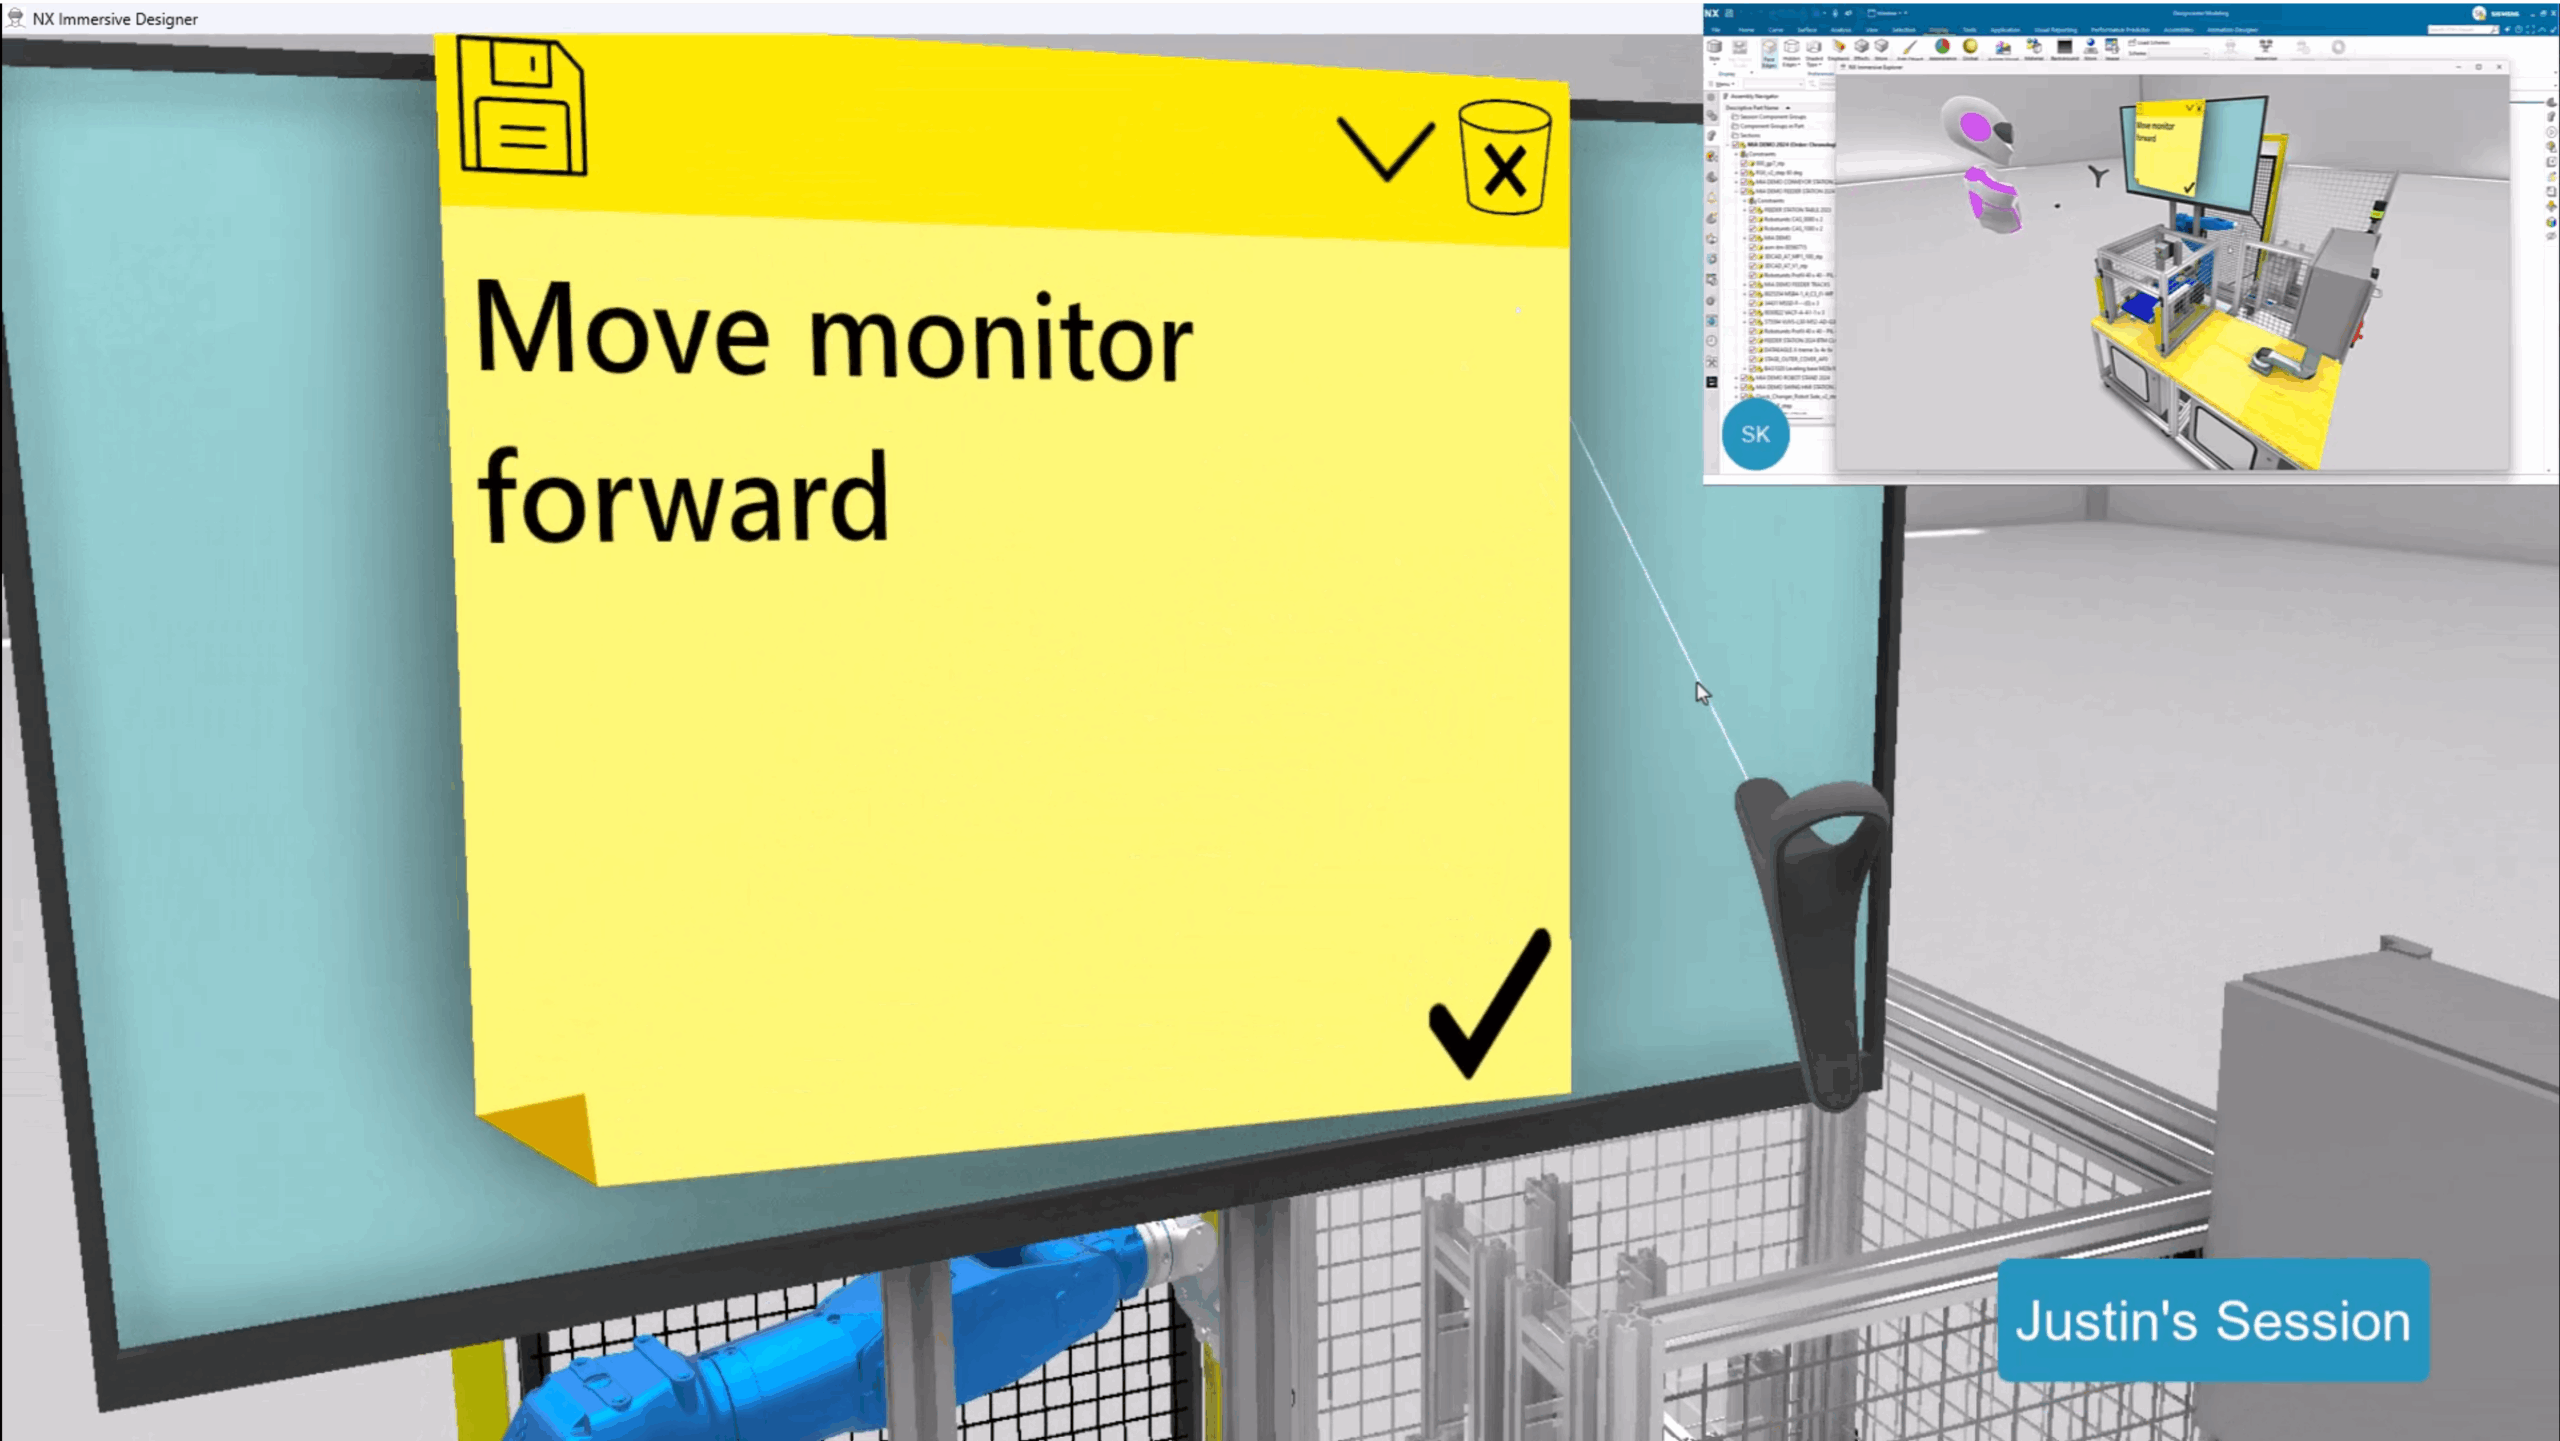
In this use case, the decision was made by both participants to move the monitor forward.
At this stage, it is important to use analysis tools available within the Immersive Environment to capture the design change. As Justin is the meeting owner, he is the only that can make annotations. Sam can only view the changes that will be made.
Immersive collaborator analysis tools
Any immersive session comes equipped with a range of analysis tools. These include:
- Section View
The section view tool can be used to dissect a dataset to evaluate internal components. - Environment selection
An immersive session comes with a range of different environments, all configured to see how certain datasets will look in specific lighting parameters - Select/Transform/Scale
This tool makes it possible to choose a specific component of a dataset and analyze it much closer. It’s easier to click and drag a part, rotate it on its axis, and make it larger - Measure tool
The measure tool can be used to identify clearance issues an specific contexts. Users can use Precise, Approximate or Freehand when measuring.
For this use case, the annotations can be captured using sticky notes. Since it was decided that the monitor needs to be moved forward, its a case of writing down on a sticky note ready for future review. And it’s important to reiterate; all of this can be viewed by all meeting attendees, and anyone wearing a Sony HMD can interact with the changes.
Take me to the Designcenter NX blog 📚