NX | Tips and Tricks | Animation Designer
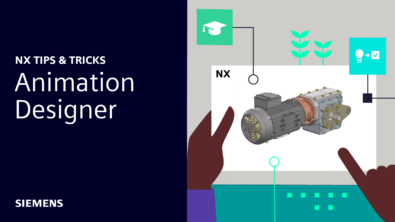
It’s another entry into our Tips and Tricks series for the June 2024 release of NX™ software. In this blog, we’ll be taking a look at how to use Animation Designer to show the movement of mechanical parts or assemblies. Let’s dive in.
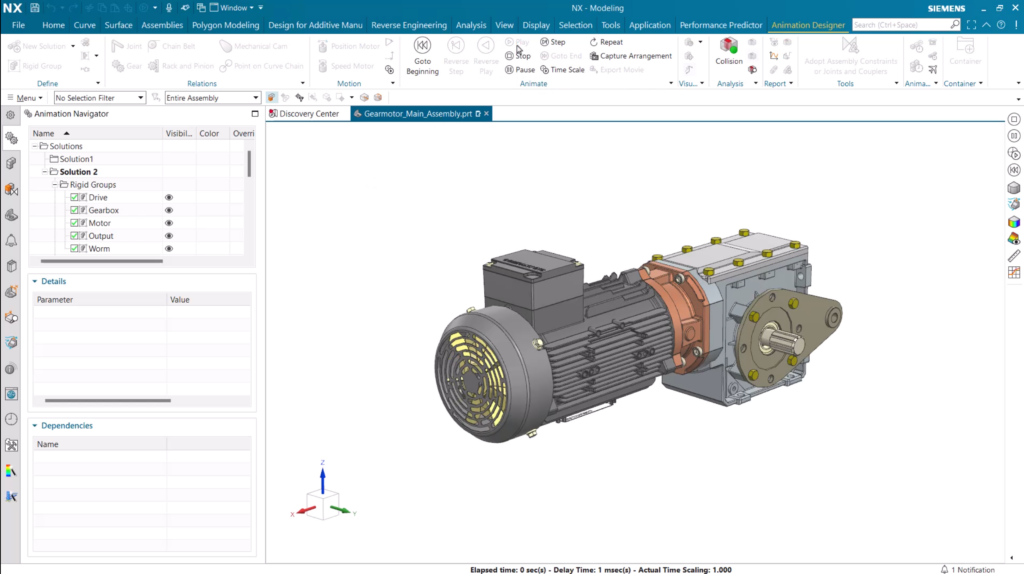
Throughout this tips and tricks blog, we’ll be playing close attention to this motor assembly. We’ll be taking a look at adding animated camera positions, and how to add additional visibility events.
Adding animated camera positions
We’re focusing on the gear motor within the motor assembly, and how we can use Animation Designer to see the motor in action. By selecting Capture Animated Camera, you’ll be able to add the window view to the final animation.
For the purpose of this use case, we want to get an understanding of the full motor assembly, more specifically the worm gear. It’s important to point out that the animated camera will be added the Timelines dialog, giving you control and flexibility over how your configured animation will look. Additionally, there’s functionality to change the cameras position by clicking and grabbing the slider within the Timeline.
To create a full animation sequence, it’s important to place the next camera a couple of seconds after the previous. The larger the gap between the two cameras, the longer it will take for the sequence to play the next animation.
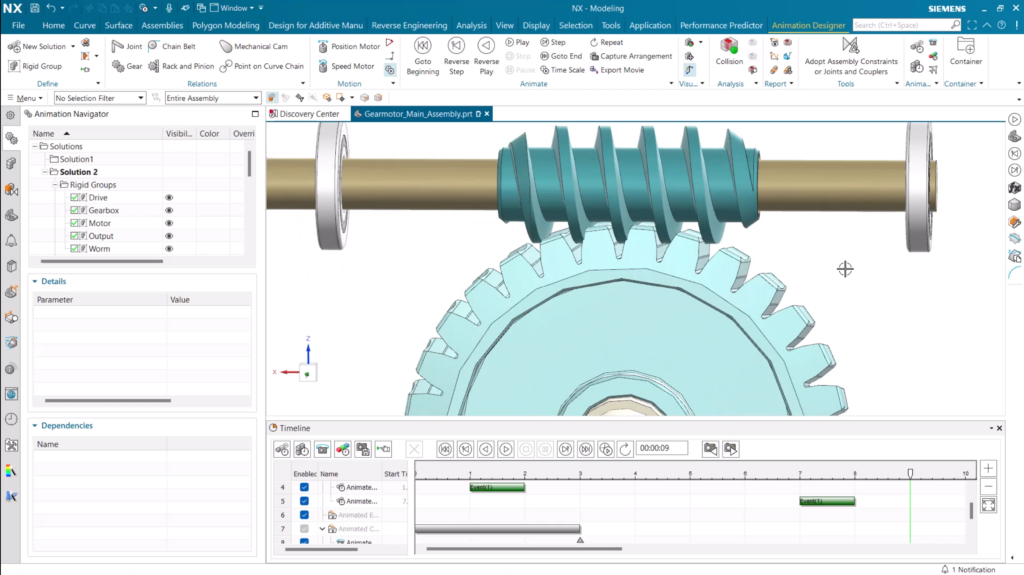
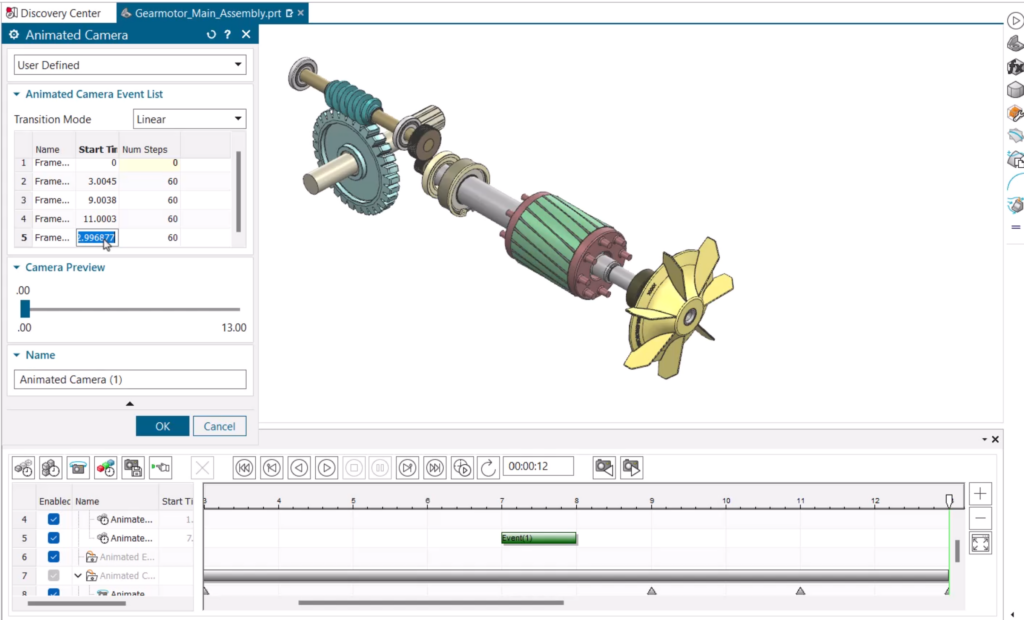
For mechanical assemblies, we’d always recommend including an isometric view of the entire assembly. We want to point out that multiple properties can be edited from the Animated Camera dialog box. In here, you can tweak the start time for each camera, as well as the transition mode for the final animation.
Incorporating additional visibility events
You’ll notice based in the initial image that there were additional pieces to the full assembly; we’ve predominantly focused on the the mechanical elements. To finish the animation, we’re going to fade the casing for the gear assembly back into view. To do that, it’s as simple as selecting Animated Visibility from the Animation Navigator. From there, it’s a case of inserting another event toward the end of the original animation. This will make sure the gearbox casing will appear whilst the mechanics are still in motion.
Continue your journey with NX
That wraps up another Tips and Tricks blog. Keep checking our NX Design blog to learn other hidden nuggets that enable you to achieve your workflow goals.