AA battery replacement project tutorial #7: Finishing Up! Component Groups, Designators, Sch DRC, Integration, BOM
Continue
This entire project is intended to be done within the free trial period.
[This is Part 7 of the tutorial, for Part 1 click HERE]
Open Schematic
Double click your saved schematic to open and continue where we left off from

Reference Designators / Annotation
Let’s number our parts!
Again, many many many ways to do this, but my favourite way for anyone migrating to Xpedition from another CAD tool is to always look it up.
So let’s do that:
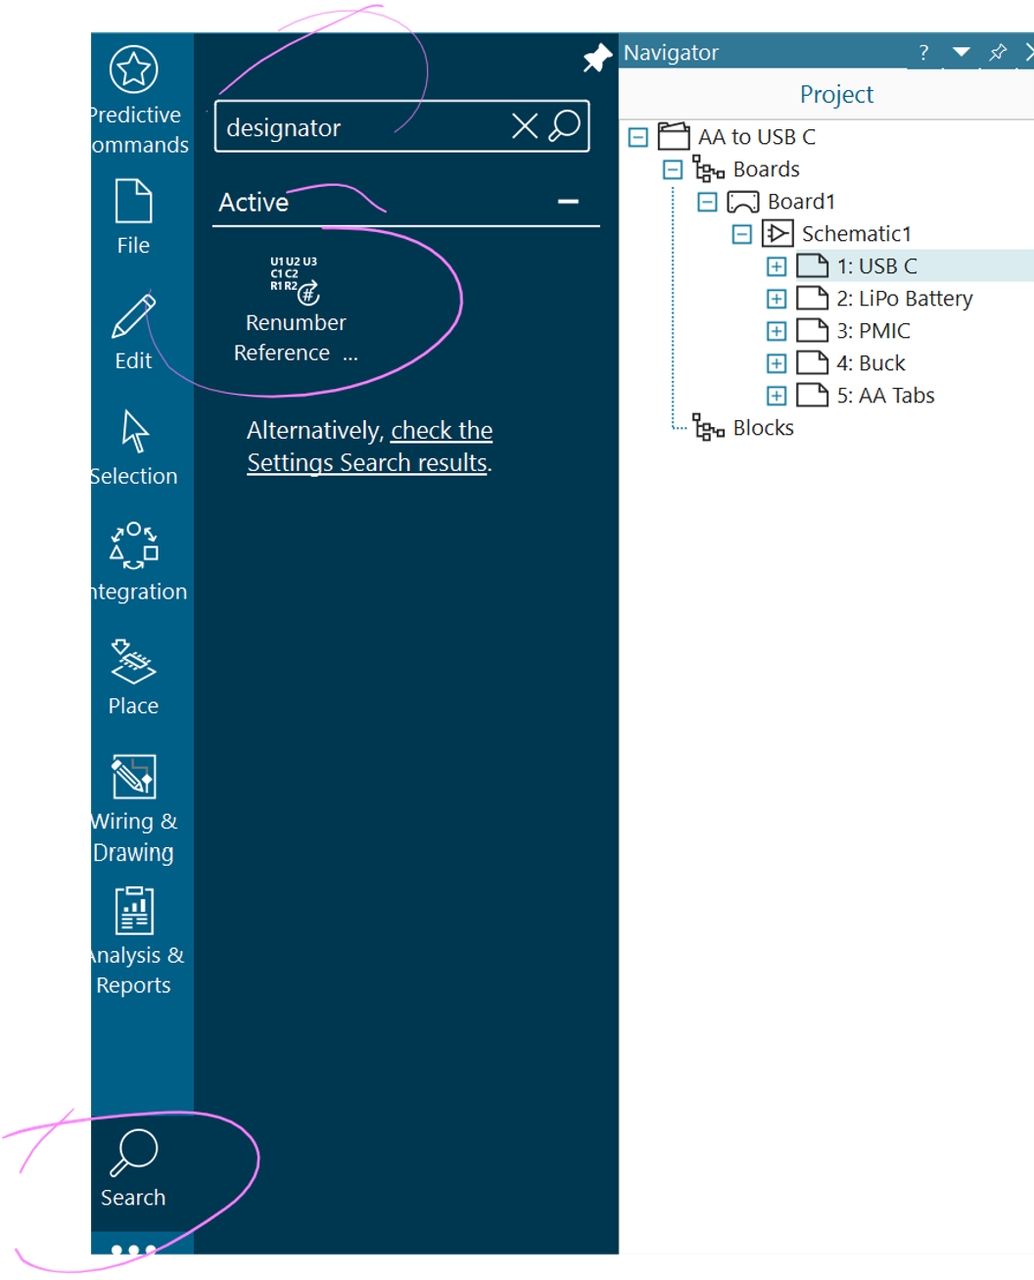
- Go to your search tool from the bottom left as in the image below
- Start typing something like “designator” and hit enter
- Click the Renumber Reference tool as shown in image below
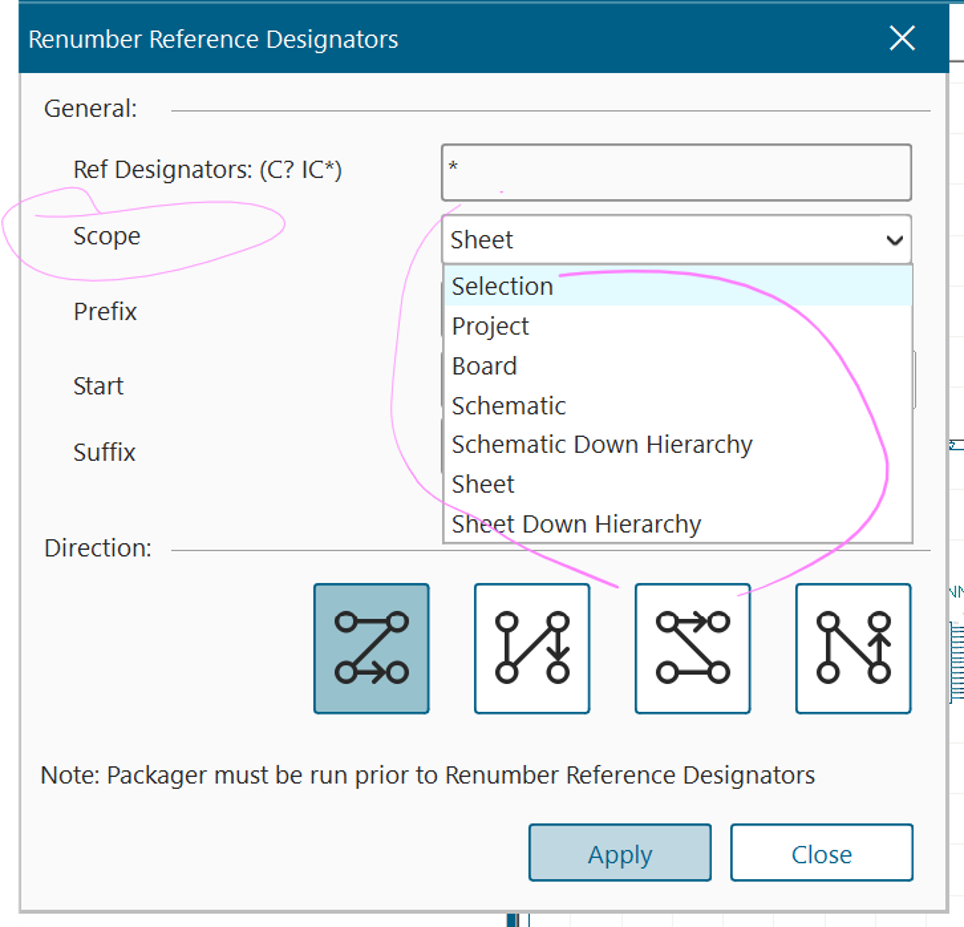
- In the Renumber Reference Designator popup, notice (No action needed) as in the image below:
- You can do only a selection! Isn’t that cool?
- You can do per sheet of course
- Per project
- Hierarchy and many other cool options! Love the organisational capabilities!
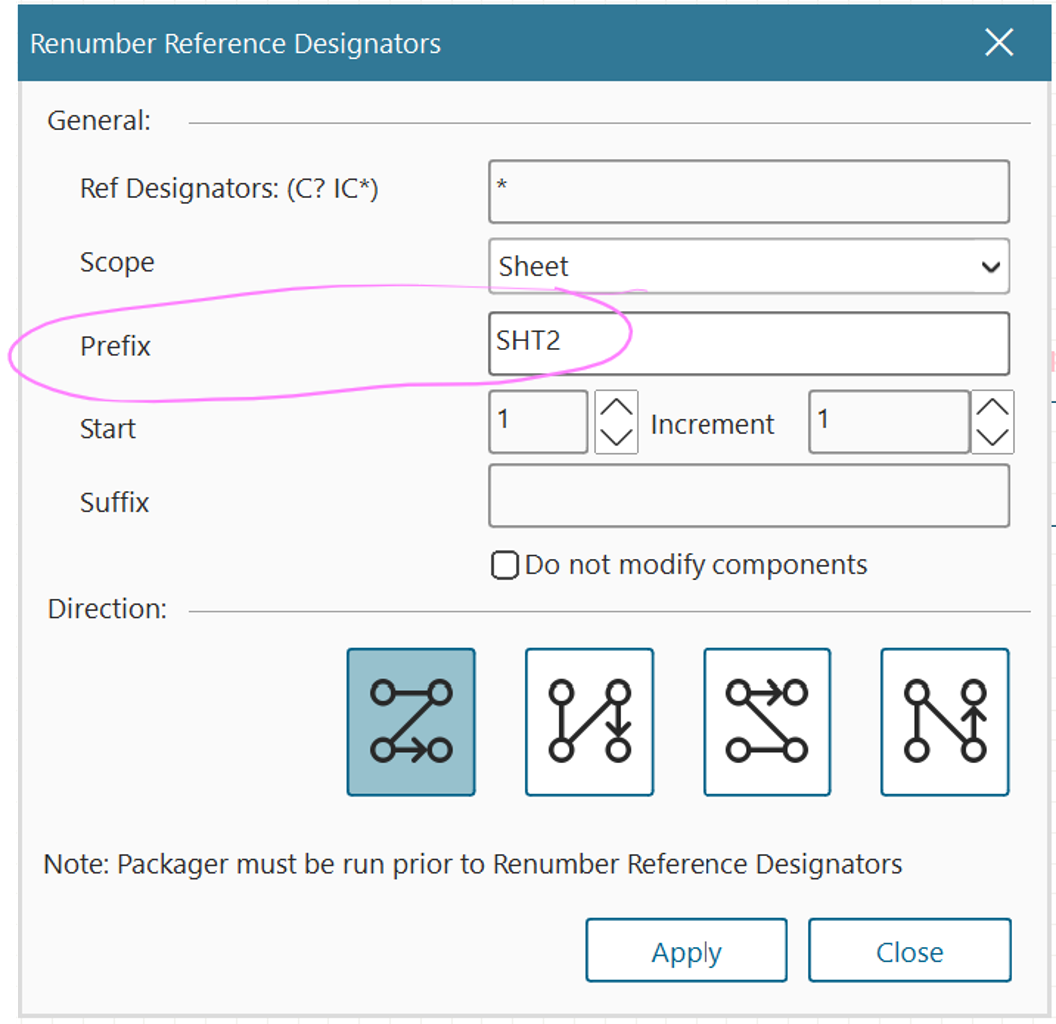
- Also notice how you can set a prefix (or a suffix)
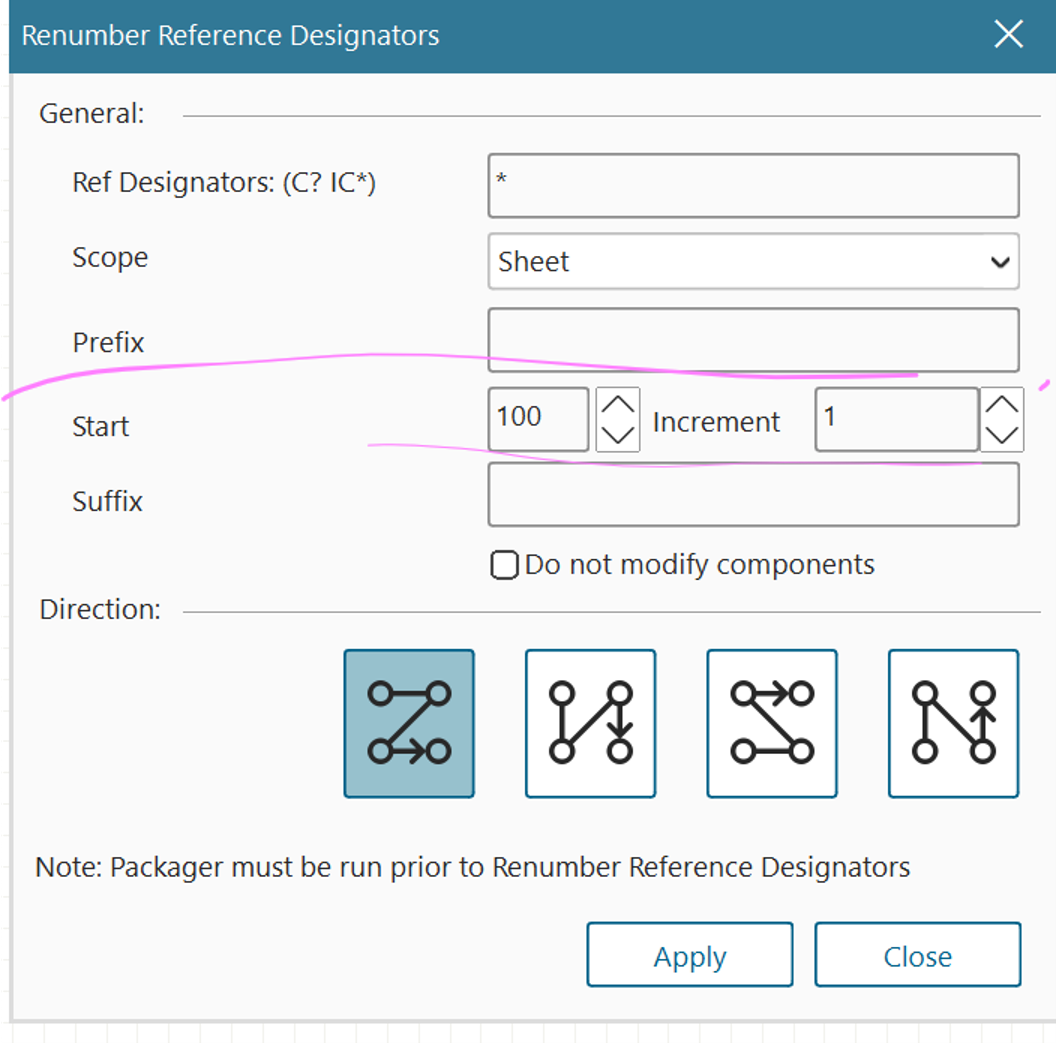
- You could also start with different numbers and set different increments
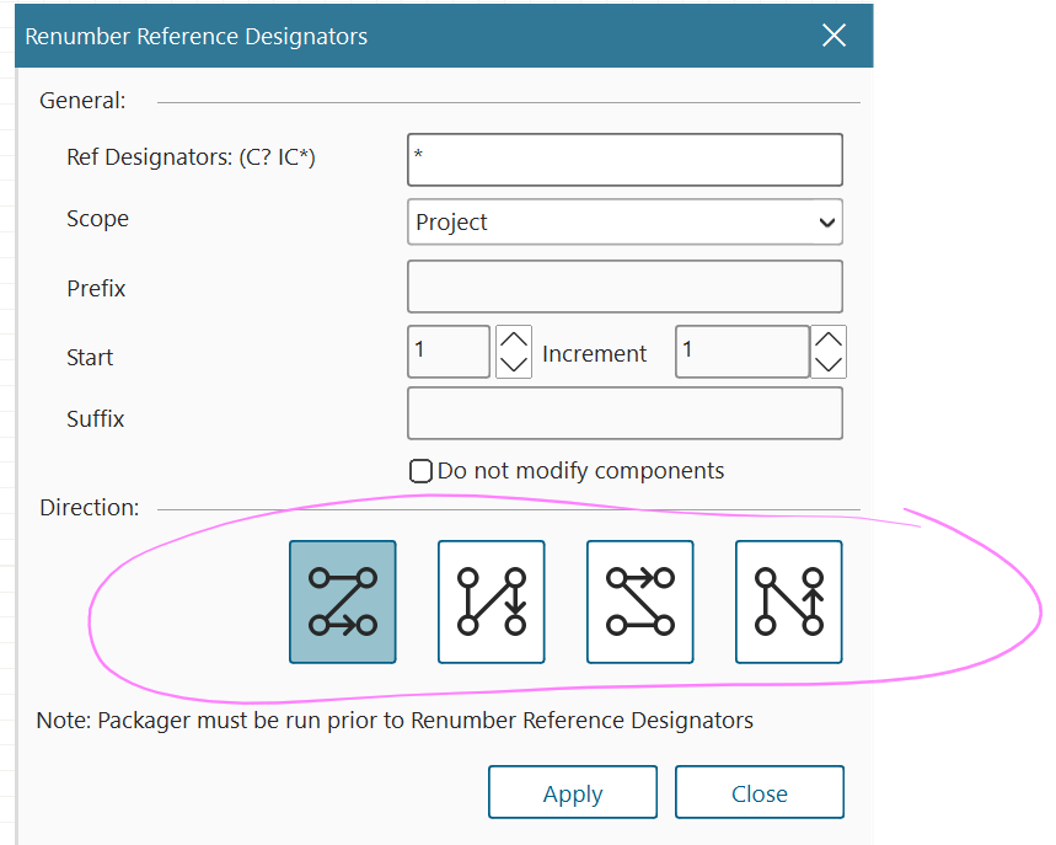
- My personal favourite is that you can change the direction!
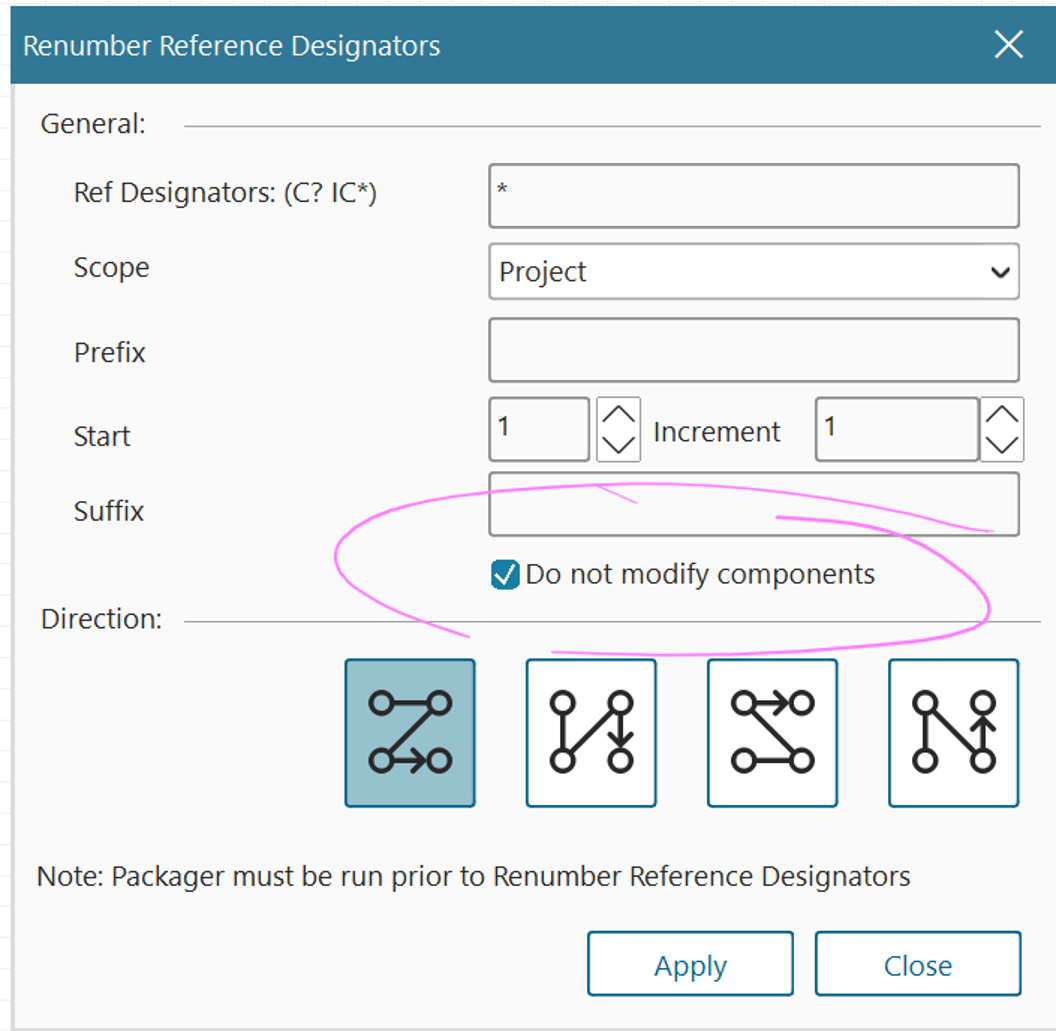
- If you want to only add new reference designators to components without any (while keeping old reference designators unchanged), you can click this box
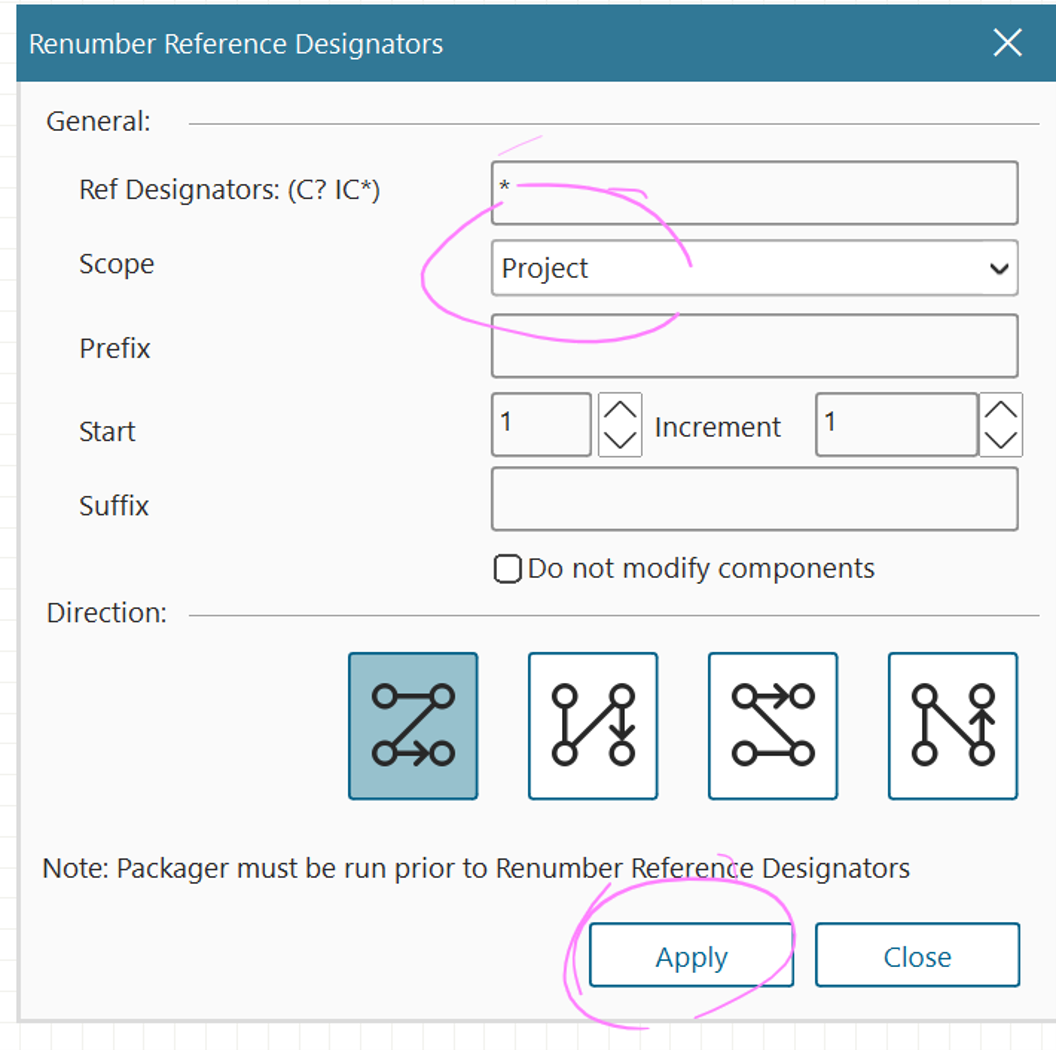
- Personally, I went for simple settings as below, but feel free to do something different if you prefer
Component Groups
This step makes layout a breeze!
- Open any schematic sheet in your project (I opened AA Tabs)
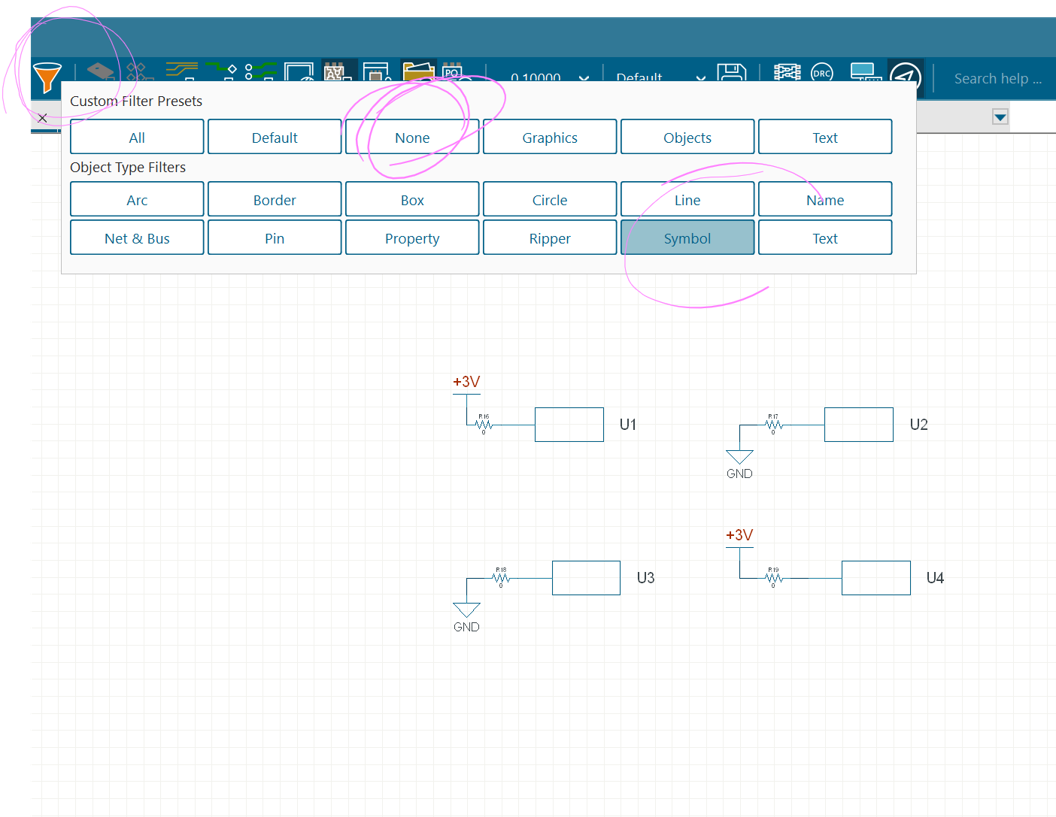
- Go to your selection filter menu from the top bar as shown below
- Click “None” as shown below
- Click “Symbol” as shown below
- Select all your components as shown in the image below
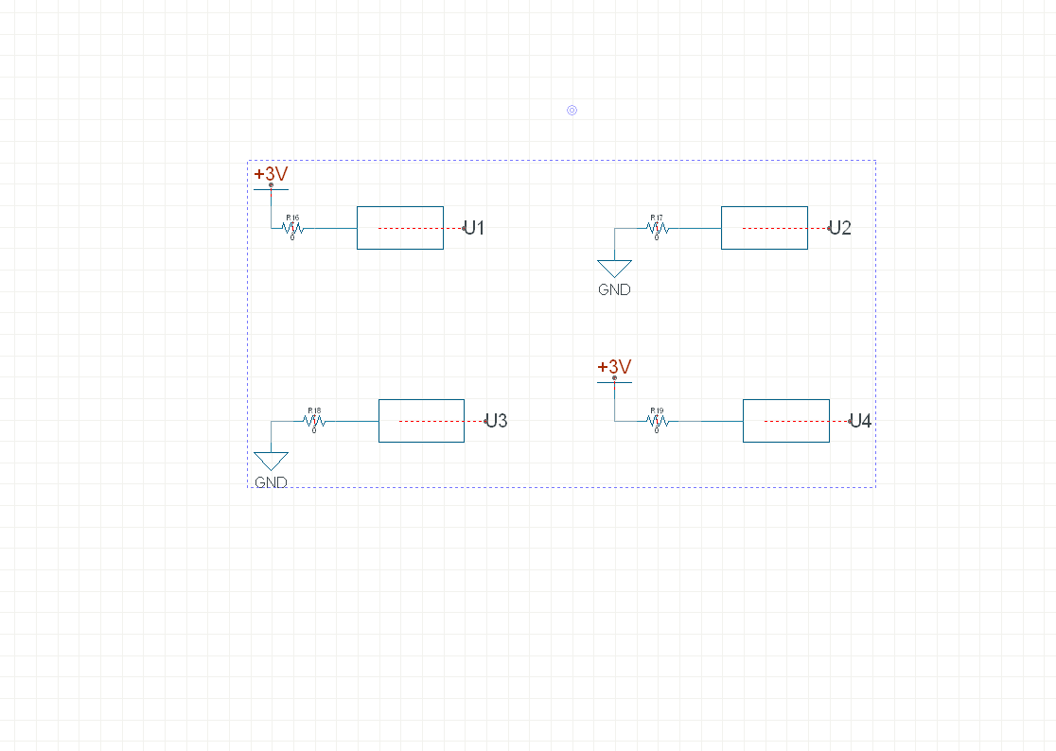
- While clicking CNTRL, click on a power object (e.g. +3V) to de-select it as in the image below
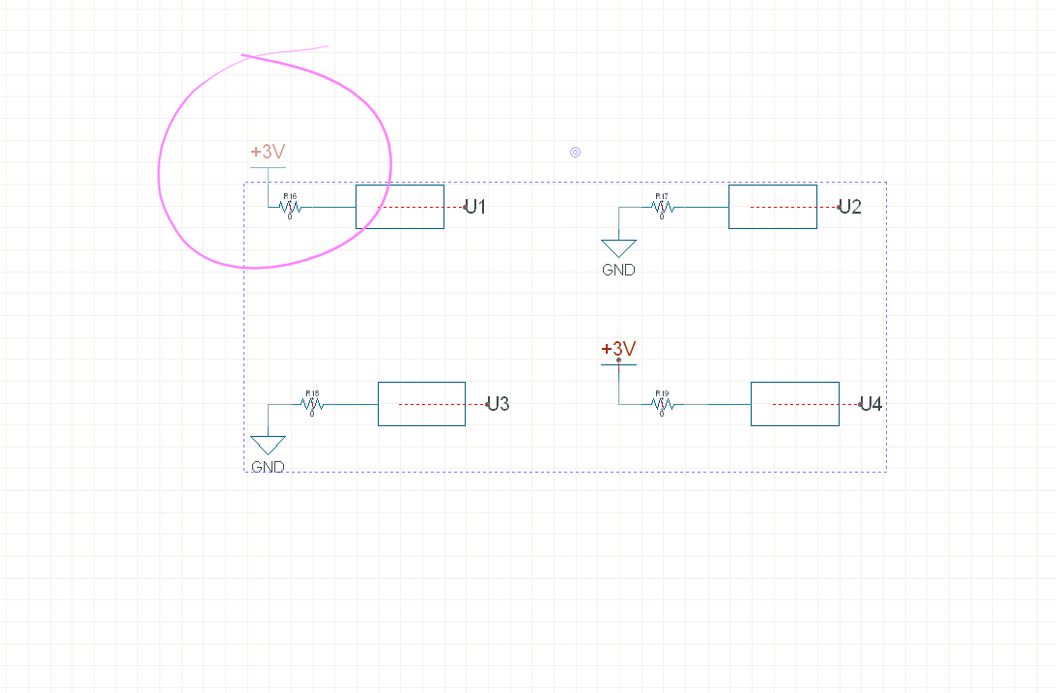
- Keep holding CNTR and click on the remaining power objects as shown below to deselect them all
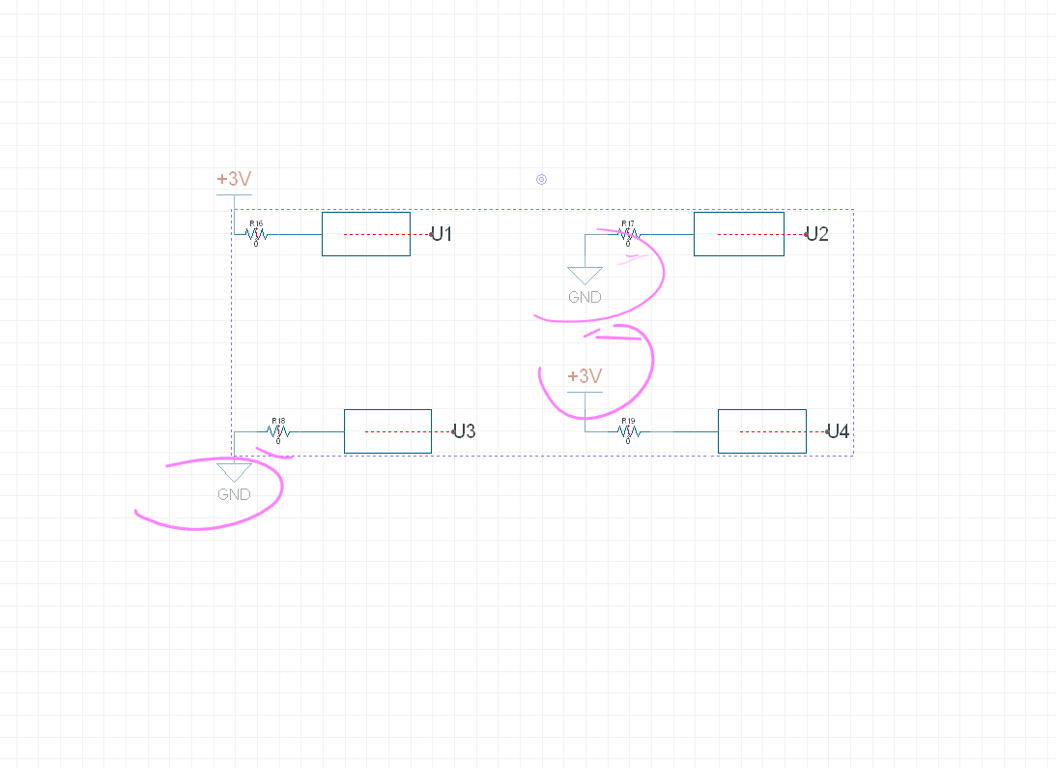
- Now ensure that only components are selected, and no power objects, as in the image below
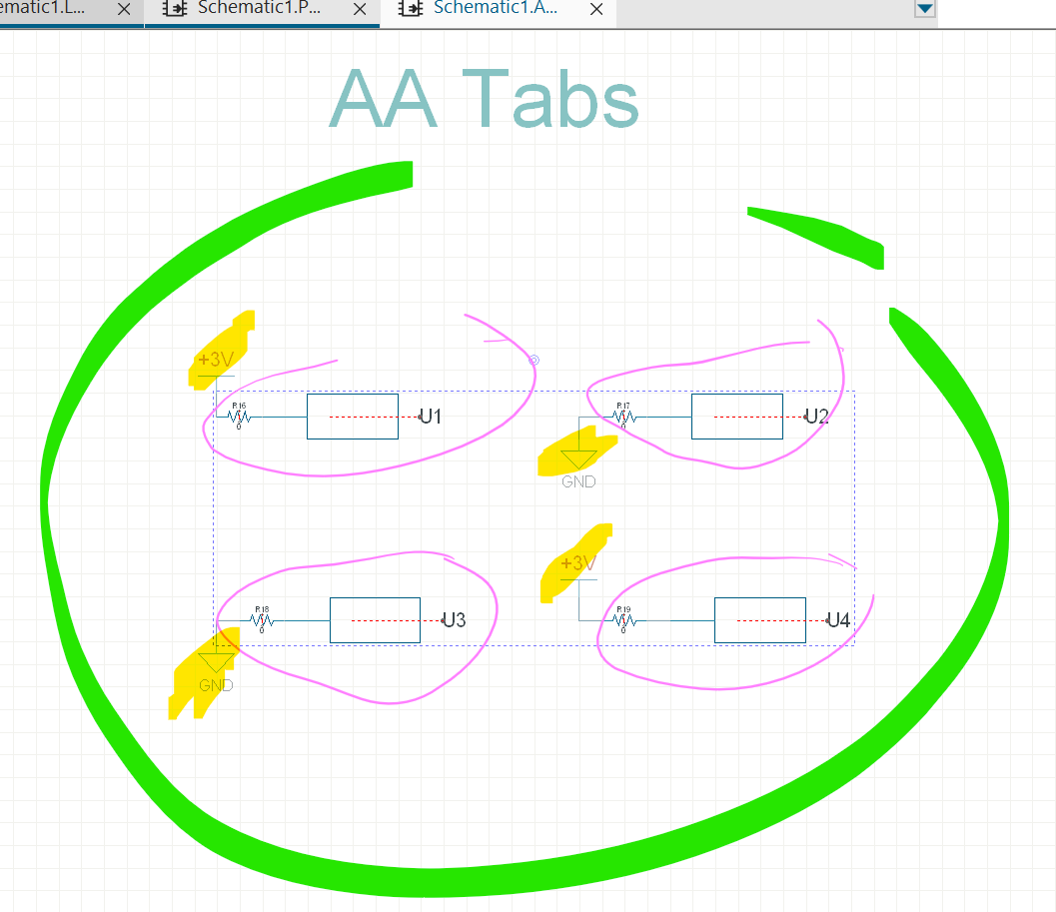
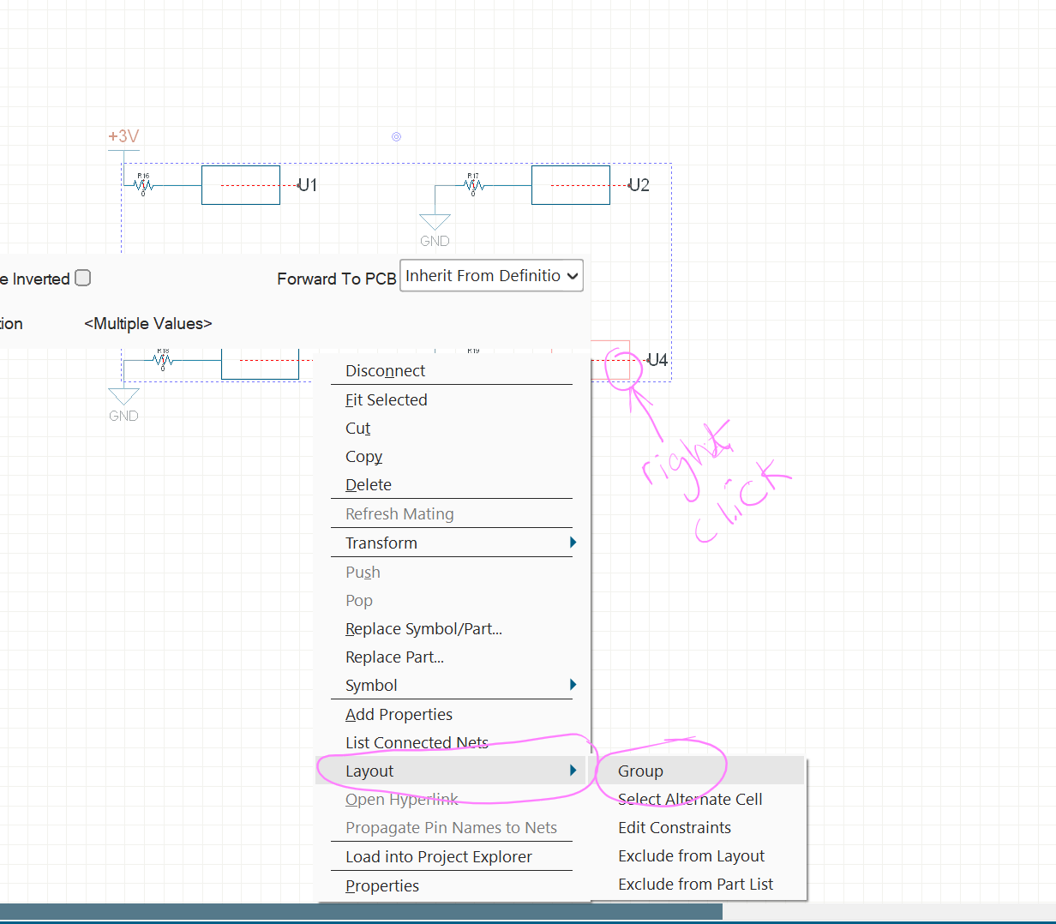
- While still holding CNTRL → Right click on any component in your selection as in the image below
- Click Layout → Group
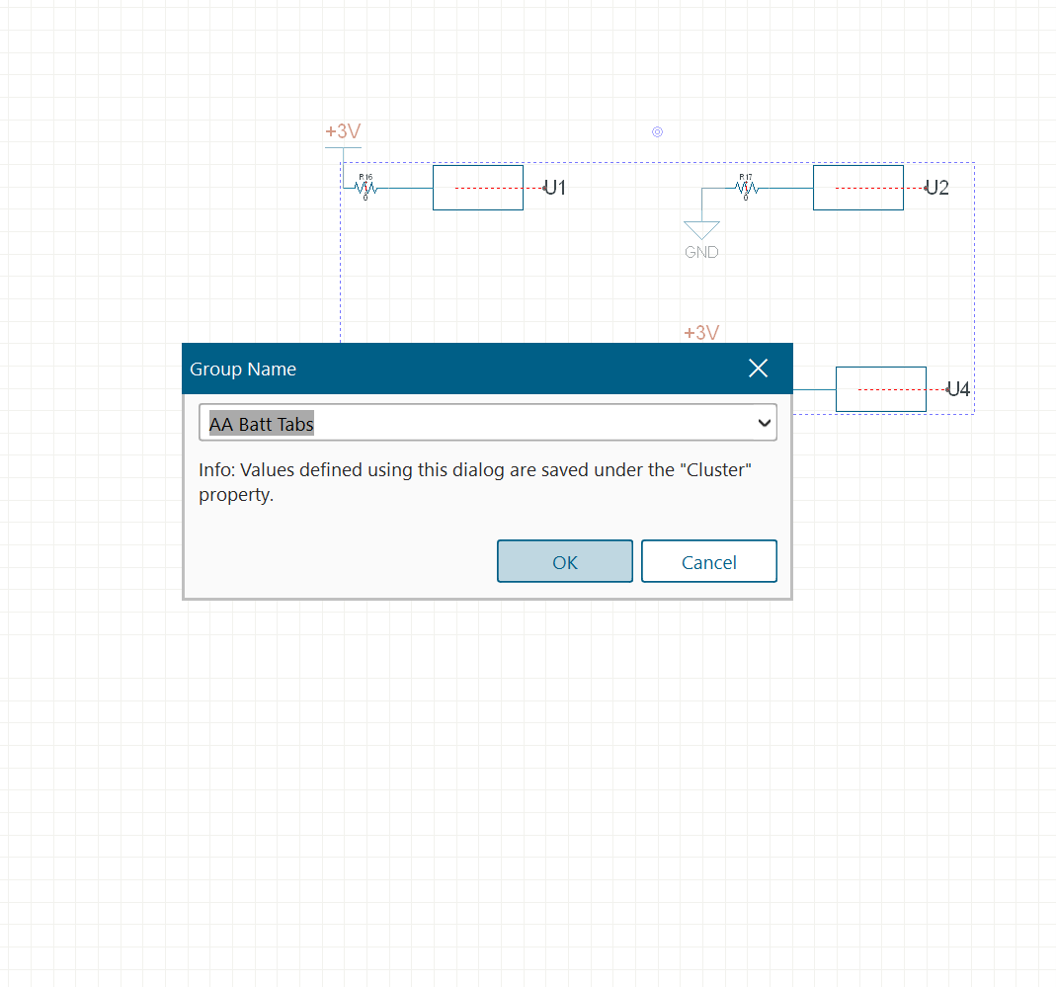
- Give your component group a name e.g. Battery Tabs
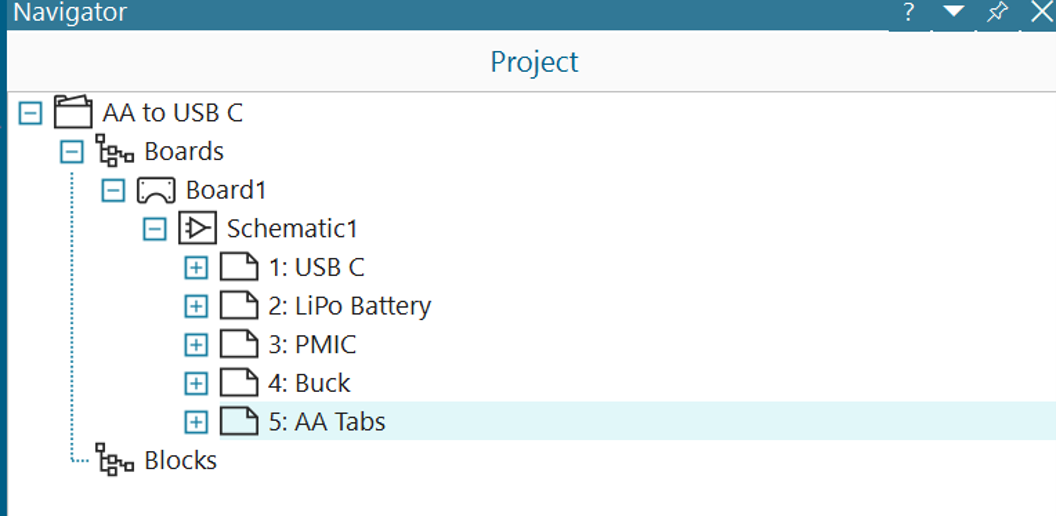
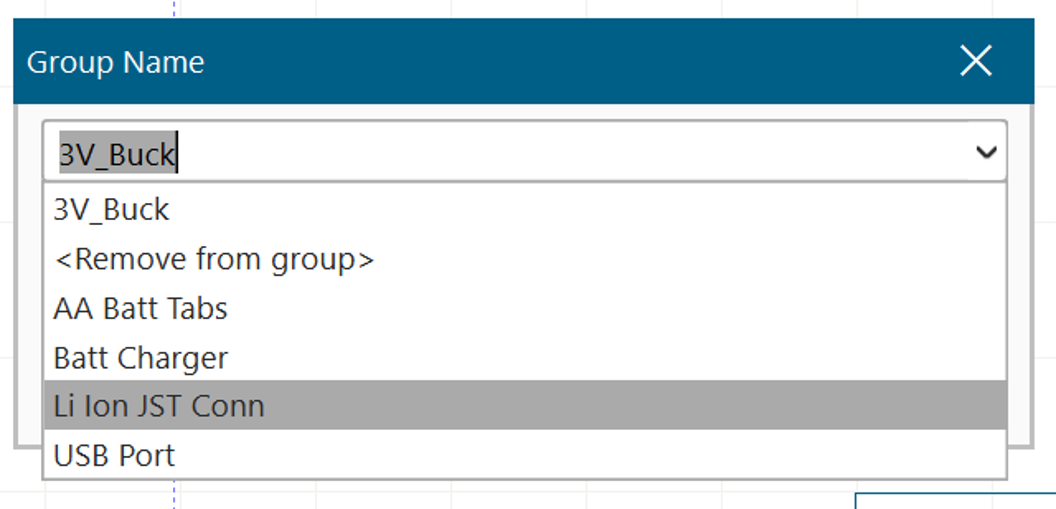
- Go back to your navigator, and repeat for each sheet:
Create component groups for:- USBC
- LiPo Battery
- PMIC
- Buck
- AA Tabs
Schematic DRC
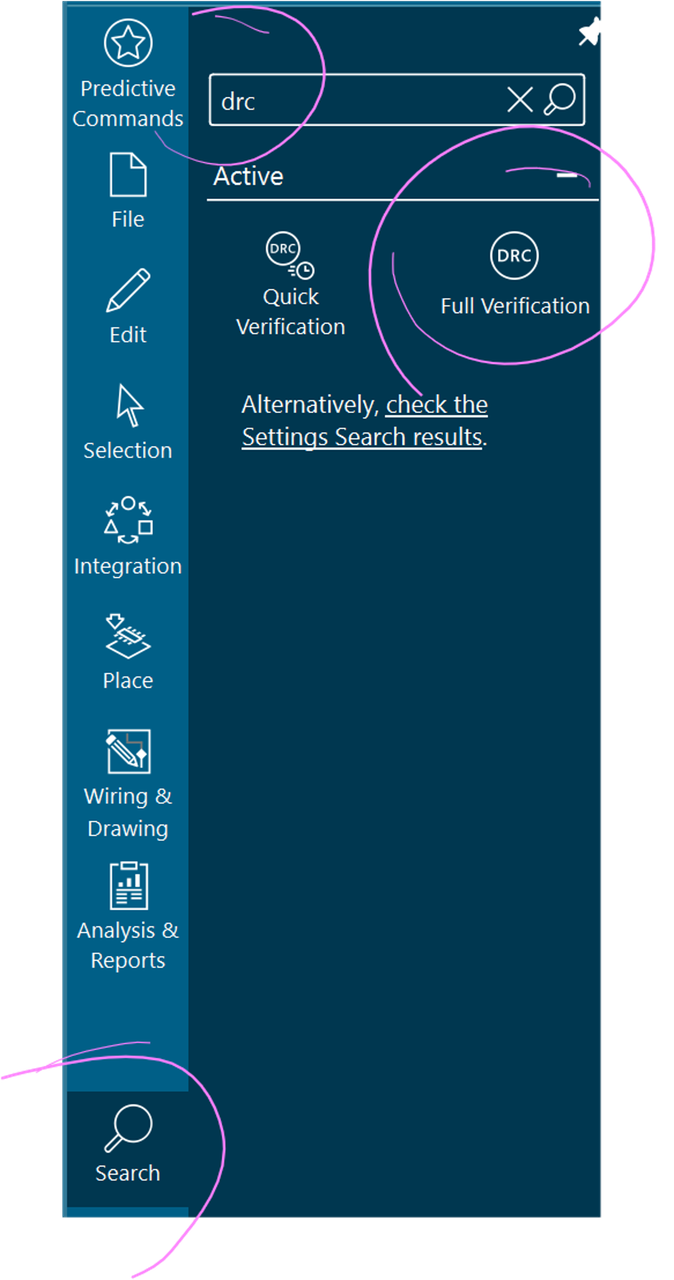
Lookup DRC as in the image below and choose between Quick Verification or Full Verification
PRO TIP:
If it doesn’t look like any new items popped up, check potentially hidden menus that may need to be expanded as in the Gif below
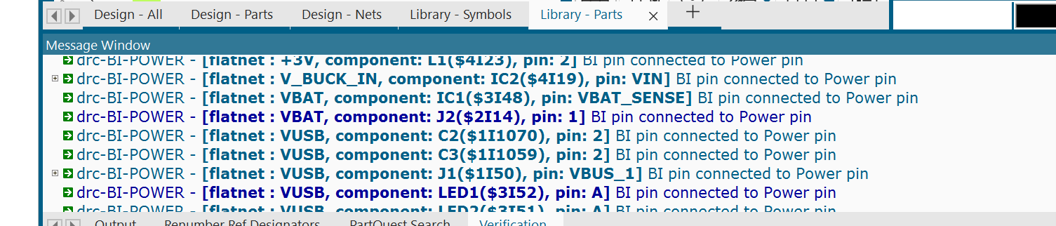
Click each error or warning in the message window as seen in the image below and assess. Anything you’re struggling with, lmk in the comments!
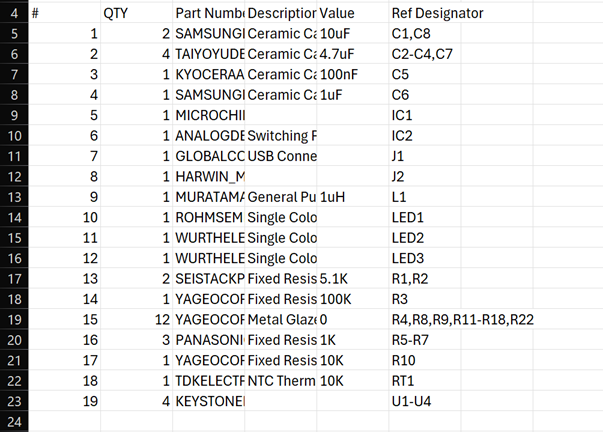
BOM
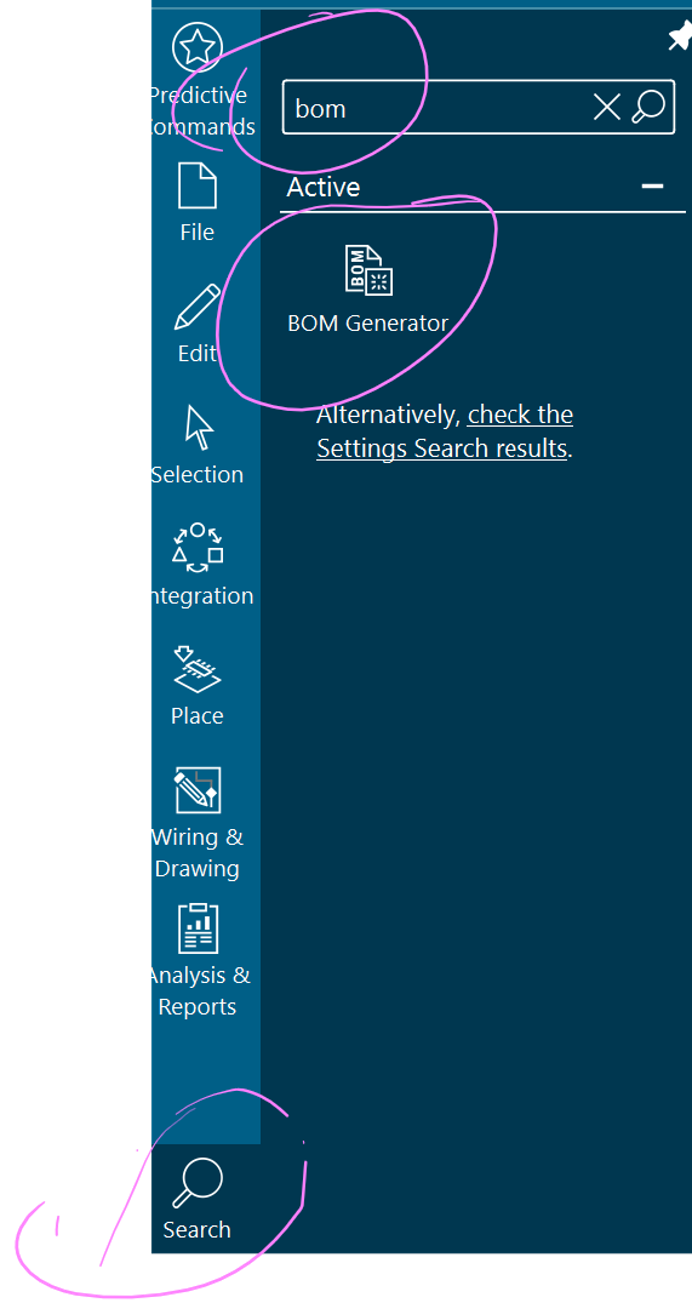
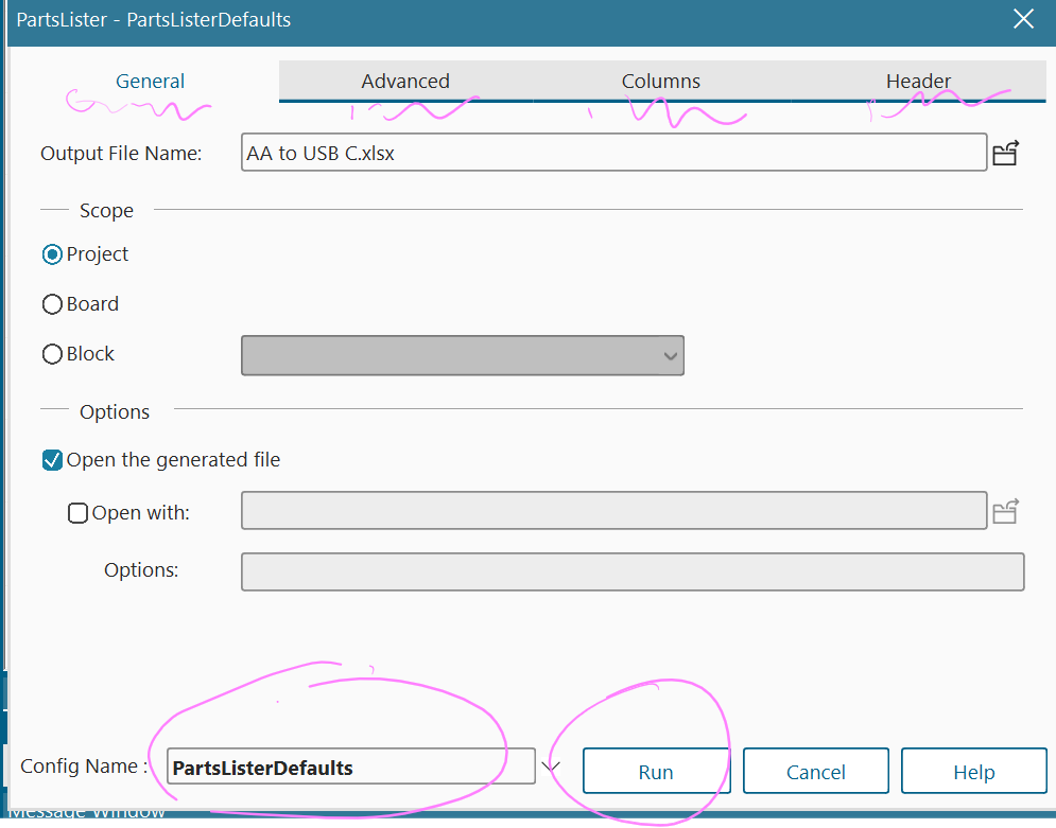
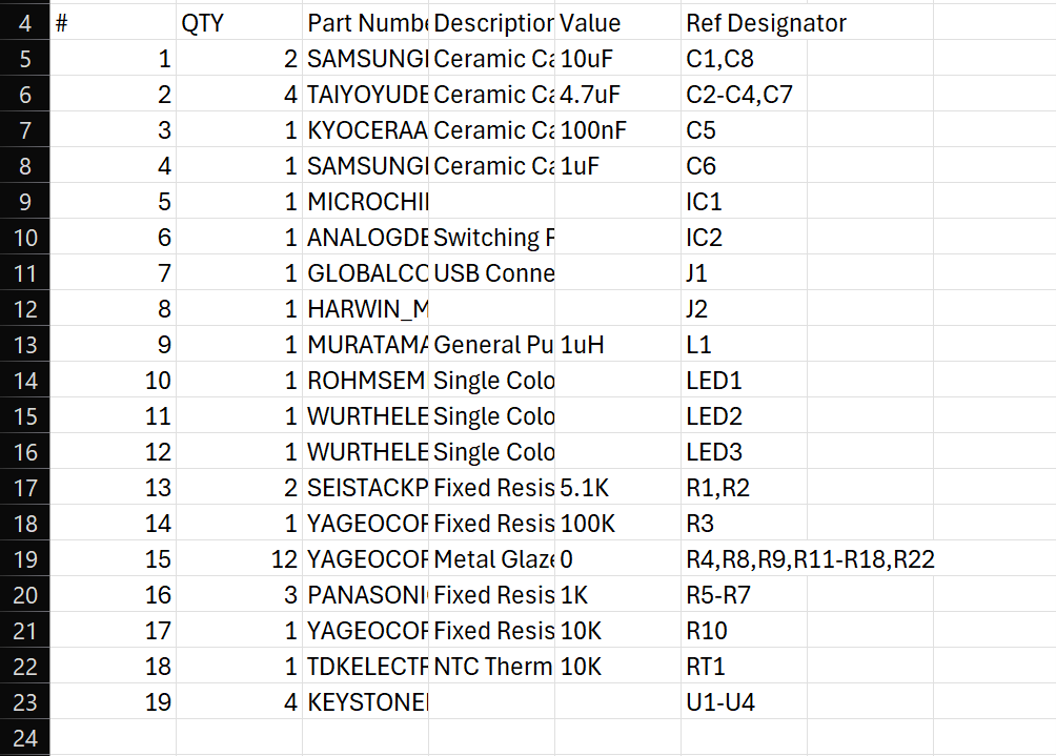
You can use the search tool to look for “bom” and generate one as in the image below!
You can also save various configurations as in the image below.
Have a play around with the options and export your bom whenever you’re ready!
That’s it for today!
Close your project, and let’s continue next time. Let me know if you enjoyed this tutorial in the comments!
And if you are struggling with anything, post your issue in the comments and I’ll get back to you as soon as I can.
Have a wonderful Xpedition!