Making a fidget spinner is much more fun than buying one
If you’re a teacher looking for a fun STEM project for your students, we have one that should definitely be on your list. Not only because it teaches your students new skills around 3D CAD, design, and 3D printing, but it also allows students to feel a sense of accomplishment by creating and personalizing their very own fidget spinner instead of simply buying one. While a fidget spinner itself is a cool toy, it can also be used throughout the school year to help students focus, by providing a constructive way to relieve fidgeting and nervous energy, anxiety, or psychological stress.
Download our step-by-step tutorial to get started
If you’re an expert in using 3D CAD design tools like Solid Edge, you’ll find the activities found in this tutorial, such as sketching, creating a 3D model, and 3D printing, to be a fun review for the start of the school year. And if you are haven’t tried using 3D CAD software yet and want to start quickly, this tutorial provides easy step-by-step instruction that will enable you and your students to complete a project from start to finish in no time.
Everything you need to create your digital design is included, and free of charge:
- Download and install your free Solid Edge Teacher license today – after that, you’re ready to get creative!
- Download the Siemens Solid Edge Fidget Spinner Tutorial.
- Invite your students to claim their own Solid Edge student license, so they can practice in and out of school.
Designing your part and creating a digital twin
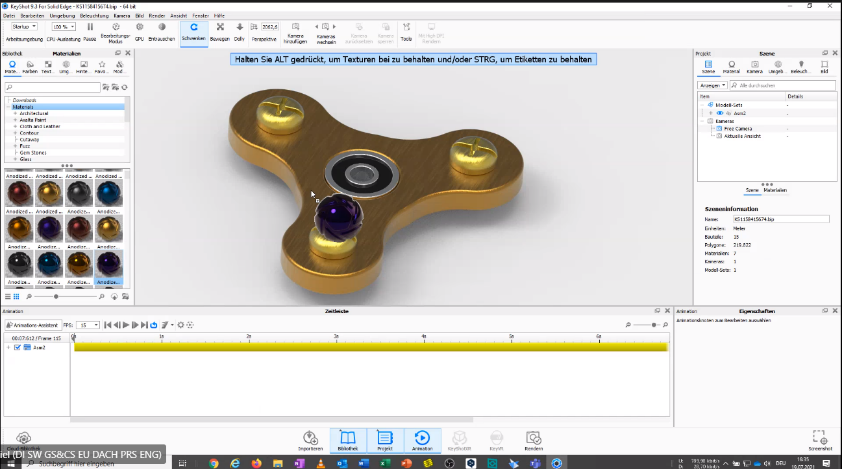
A fidget spinner consists of several parts: a plastic or metal body, a ball bearing, and some screws and nuts for weight.
In our example, following the instructions, you will design the main body on your own and then add the standard part files that are included in the tutorial.
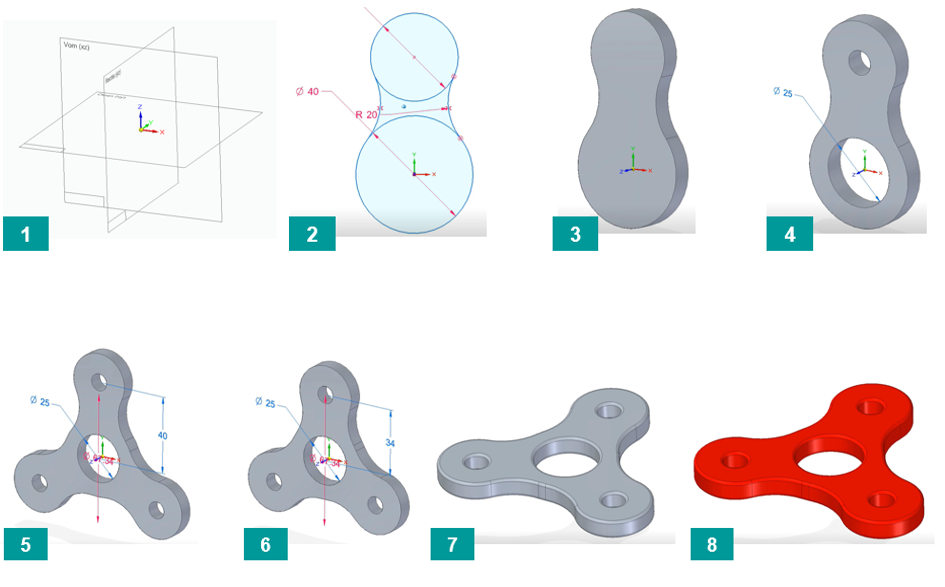
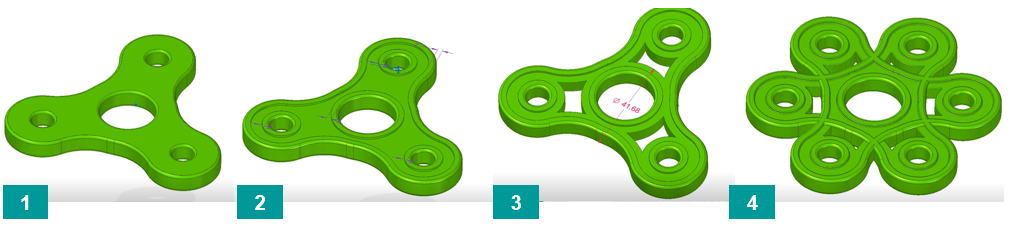
Of course, it’s also good to encourage your students to get creative and customize their fidget spinner project, by changing the size, shape, color, or adding their name or a few more wings.
After designing the basic model, students will assemble their digitally designed models with the ball bearing and screws.par files that are included in the Fidget Spinner tutorial. By completing those steps, the design phase is complete, and students can save their files.
Turning ideas into reality through manufacturing
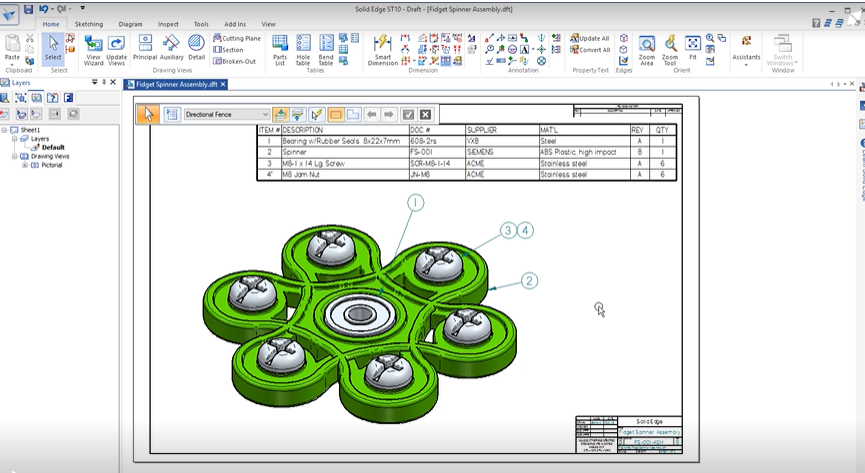
In the last part of the tutorial, you will learn how to create a drawing with 3 different views of your 3D CAD model. Typically, drawings are used as instruction guides for manufacturing.
In this tutorial, we are going to manufacture the fidget spinner by using a 3D printer. If you don’t have access to a 3D printer at your school, check out a local maker space, or an online 3D printing service. You then chose the option that fits best for you.
Preparing your design for printing
Typically, 3D printers only print STL files so students will need to export their Solid Edge .par file as an STL file before it is sent to the printer. In this step, students can scale their model up or down. However, it is important to make sure you position the virtual model in the simulated space of the 3D printing software to optimize your printing.
Tip: If students added their names on the main unit, make sure that the letters have a minimum thickness to be visible in a clear way after printing.
We hope you and your students enjoy working through this tutorial.
If you have questions as you work through the tutorial, feel free to connect with the Solid Edge online educator community to get support, or look for tips and tricks from other users.
And when you’ve completed the project, we invite you to post a review along with a picture to share your students’ success. Don’t forget to include the hashtag #solidedge4students in your post. Or, if you prefer, you can email your responses and pictures to us at ask-solid-edge.plm@siemens.com.
Good luck! And be sure to bookmark siemens.com/solid-edge-educator to access additional free resources and tutorials for educators and learning institutions throughout the school year.