Simplify Assembly | NX Tips and Tricks
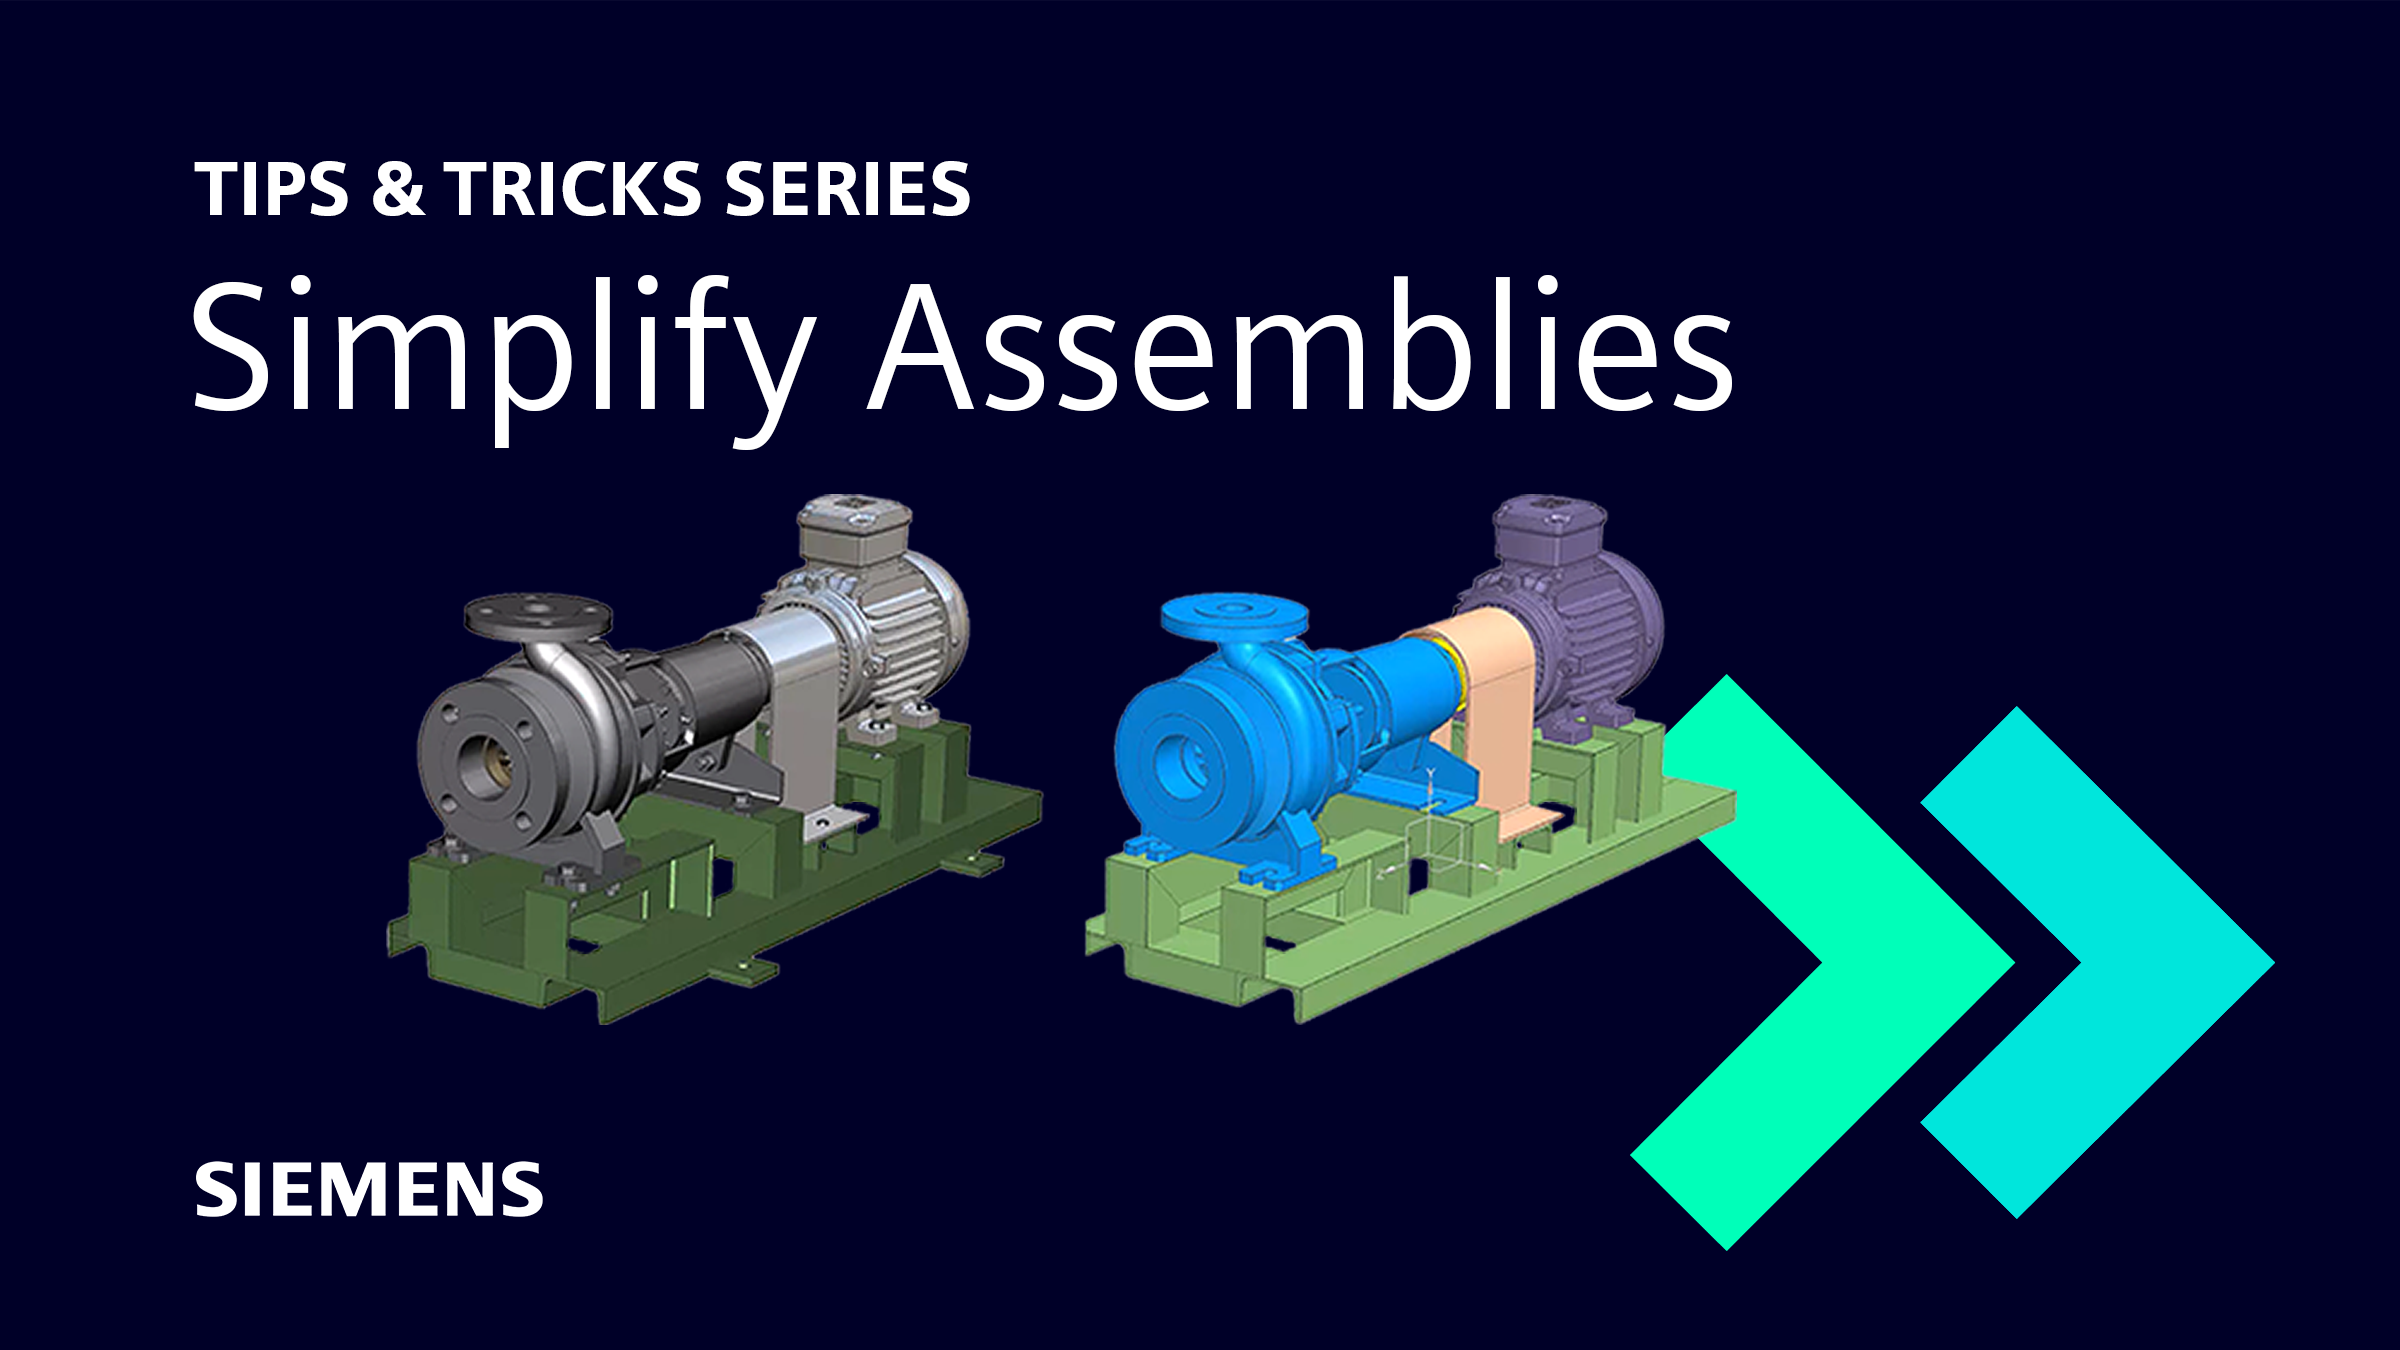
We’re pleased to be bringing you the latest instalment within our NX™ software tips and tricks series, focusing on everything from the December 2022 release. As a reminder, everything we are bringing you in this series is aimed to give you helpful workflow pointers that you may not already know regarding NX. Our previous entry looked at tips and tricks for Sketch; take a look if you use Sketch in your everyday workflow.
The NX team continuously takes on board feedback from our users, enabling to create and implement new features you want. These are all aimed at improving your productivity and allowing you to optimize your CAD data. Without further ado, Let’s take a look at some neat tips and tricks associated with Simplify Assembly.
Using Select Similar Faces – a new AI function
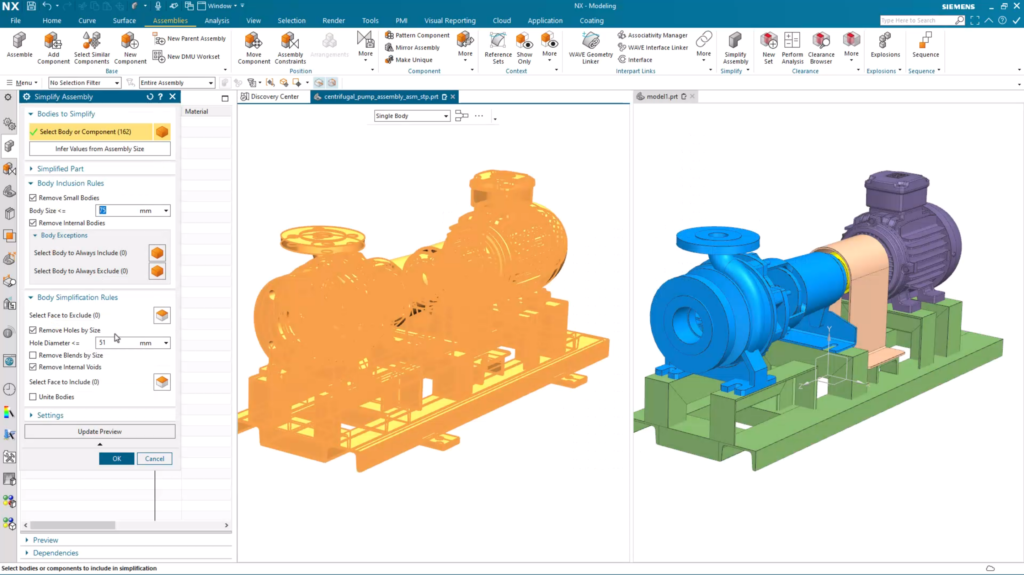
Assemblies from any industry can be incredibly complex, made up of potentially thousands of parts and faces. Engineers need to be able to simplify their assemblies, but do it in an efficient way in order to reduce time wasted on laborious data prep tasks. To do this, all you need to do is click ‘Simplify Assembly’ within NX, create your part file and you will be presented with a split screen. Both these views are synchronized, giving you an indication of the geometry that has been automatically removed
TOP TIP
You have complete control over the geometry here; you can change the values of the rules to make geometry re-appear. Additionally you can revert back so that the simplified assembly geometry disappears.
Choosing to exclude geometry
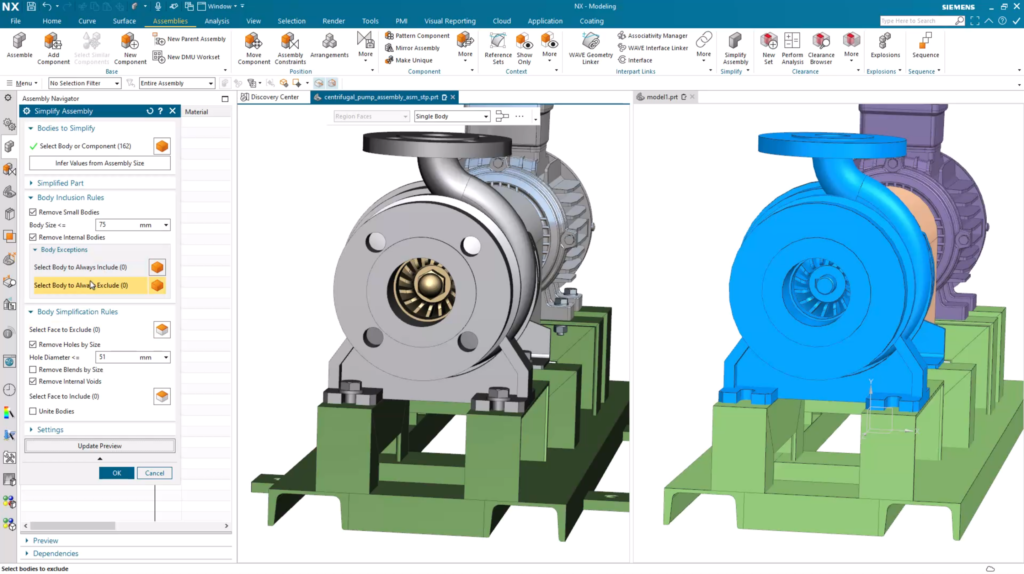
With your Simplify Assembly window now configured, you’re in the perfect position to begin excluding geometry. It’s important to consider what you classify as potentially key intellectual property, and the importance of hiding it in your Simplified Assembly. This is a very simple, but effective tip to incorporate into your workflow; simply select the geometry > click ‘Select Body to Always Exclude’ and Update your Preview. As simple as that!
TOP TIP
You can do this step as many times as you wish; an important thing to remember if you have several instances where you want to protect your intellectual property data
Removing areas that have multiple features
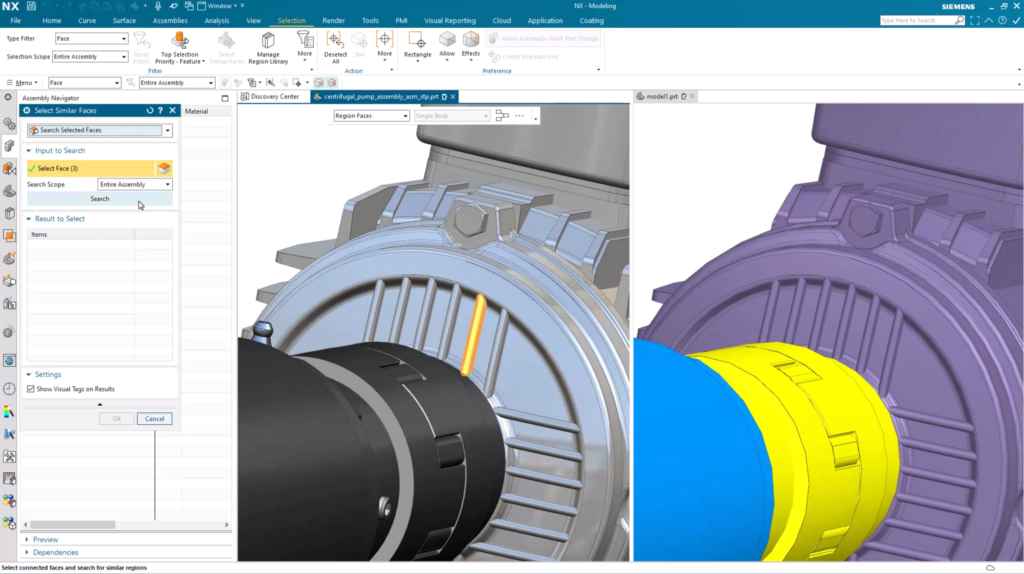
The previous tip is handy for those individual features that you may want to get rid of. But what if there’s a specific area of your geometry that has multiple features that you want to hide? Sure, you could do them individually, but that would take a lot of your time. Thankfully we have you covered, and have implemented a way for you to select multiple features at any given time.
To do this, click your (boundary) faces and ribs so that you can define your region > click ‘Search’ in your ‘Select Similar Faces’ dialog box and you’ll see all the faces that are similar to your inputs.
REMEMBER
This approach actually takes a look throughout the whole Assembly, not just at one individual work part
Conclusion
We hope you are able to take brand new insight from the blog, and are ready to implement some of the mentioned tips and tricks into your own workflows. Stay tuned to learn brand new tips and tricks in the coming weeks!

