User Dialogues in FEMAP API (Part 1)

User Dialogues in FEMAP API Part 1
FEMAP API allows for engineers to easily automate routine analysis tasks and save countless hours of company time. A clear and effective user interface (UI) is essential to ensuring widespread adoption of created scripts; a confusing program is rarely used. Luckily, the User Dialogue Editor incorporated into the FEMAP API Programming Window makes creating UI’s trivial.
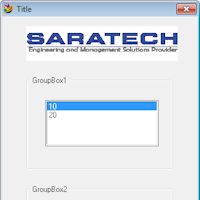
The User Dialogue Editor can be accessed by either clicking the icon in the top left corner of with the hotkey (Ctrl+D). The left hand side shows the different types of buttons, dropdown lists, text and other UI options available to insert into your window. Left click on the desired UI element and left click on the desired location on the window. Right click on the element to edit associated parameters such as the title, field name, or element size. The Copy and Paste buttons are useful for ensuring buttons are the same size. When you are satisfied with configuration of your UI, click Save and Exit. The code for the user dialogue will be inserted to where your cursor is located in the API Programming window.
The numbers at the front of the expressions show the dimensions and locations of the UI elements. The expressions with a period at the front like “.GroupBox2” are the fields where response values for whether a button has been clicked are stored.
In my next blog I will elaborate further on how to capture user input from the interface created and use this input to run a basic program.


